How to Build a Cold Frame for Your Winter Garden: 20 DIY Plans
Table of Contents
Understanding the Benefits of a Cold Frame for Your Winter Garden
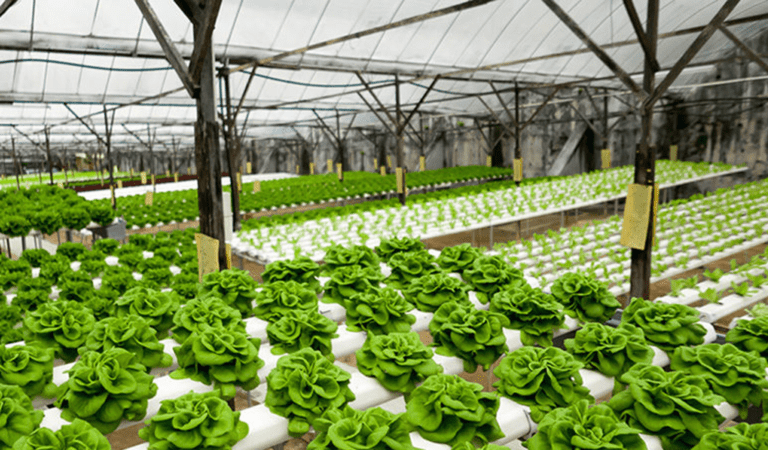
A cold frame can be an invaluable addition to your winter garden, providing a range of benefits that can help you extend the growing season and protect your plants from harsh weather conditions. One of the main advantages of a cold frame is its ability to create a microclimate that is warmer than the outside environment. The frame traps sunlight and heat, creating a sheltered space that allows you to start planting earlier in the spring and continue growing later into the fall.
In addition to extending the growing season, a cold frame also acts as a protective barrier against frost, wind, and heavy rain. By shielding your plants from these elements, you can prevent damage and ensure that they receive the essential nutrients and water they need to thrive. Furthermore, the structure of a cold frame helps to retain heat, making it an ideal environment for heat-loving crops and providing them with the temperature insulation they require to grow successfully. With these advantages in mind, it’s clear to see why a cold frame is a valuable asset for any winter gardener seeking to maximize their growing potential.
Selecting the Ideal Location for Your Cold Frame
When selecting the ideal location for your cold frame, there are a few important factors to consider. Firstly, it is crucial to choose a spot that receives ample sunlight throughout the day. This is particularly important during the winter months when the sunlight is already in short supply. Ideally, the cold frame should be placed in an area that receives at least six hours of direct sunlight each day.
In addition to sunlight, you should also take into account the wind patterns in your garden. Strong winds can quickly strip away the heat trapped inside the cold frame, reducing its effectiveness. To minimize this, it is recommended to choose a location that is sheltered from strong winds, such as against a south-facing wall or near a dense hedge or fence. This will help to create a microclimate within the cold frame that is better protected from the harsh winter elements.
Choosing the Right Size and Materials for Your Cold Frame
One of the most important factors to consider when choosing a cold frame for your winter garden is its size. The size of your cold frame will depend on the amount of space you have available and the number of plants you wish to grow.
It is essential to select a size that provides enough room for the plants to grow and thrive while also fitting in your garden space. A good rule of thumb is to ensure that the cold frame is at least 2 to 3 feet wide and long enough to accommodate the desired number of plants. This will allow for proper air circulation and prevent overcrowding, which can inhibit plant growth. Additionally, consider the height of the cold frame to ensure that it provides enough space for your plants to reach their full potential.
Another important aspect to consider when choosing a cold frame is the materials used in its construction. The choice of materials will impact the durability and performance of the cold frame in harsh winter conditions. Common materials for cold frames include wood, aluminum, PVC, and polycarbonate. Wood is often favored for its natural insulation properties, but it requires regular maintenance to prevent rotting.
Aluminum and PVC are lightweight and easy to work with, but they may not provide as much insulation as wood. Polycarbonate, a transparent thermoplastic, is a popular choice due to its durability and excellent heat retention properties. Whichever material you choose, ensure that it is sturdy enough to withstand the weight of snow and strong winds. Consider factors such as your budget, climate, and personal preferences when selecting the ideal materials for your cold frame.
• The size of the cold frame should be determined by the available space and number of plants.
• A good rule of thumb is to have a width and length of at least 2 to 3 feet for proper air circulation.
• Avoid overcrowding by ensuring enough room for plant growth within the cold frame.
• Consider the height of the cold frame to allow plants to reach their full potential.
• Materials used in constructing a cold frame impact durability and performance.
• Wood provides natural insulation but requires regular maintenance to prevent rotting.
• Aluminum and PVC are lightweight options but may not offer as much insulation as wood.
• Polycarbonate, a transparent thermoplastic, is durable with excellent heat retention properties.
• Choose materials that can withstand snow weight and strong winds.
Consider budget, climate, and personal preferences when selecting materials.
Preparing the Ground for Your Cold Frame
Preparing the ground for your cold frame is an essential step in ensuring optimal conditions for your winter garden. The first step is to select a suitable location that receives ample sunlight throughout the day. Ideally, the ground should be level and free of any debris or obstructions that could hinder the placement of your cold frame.
Next, it is important to properly prepare the soil. Start by removing any weeds, rocks, or large clumps of dirt that may impede root growth. Loosen the soil with a garden fork or tiller to improve its overall texture and allow for better drainage. This will help prevent waterlogging, which can lead to root rot and other soil-borne diseases. Additionally, incorporating organic matter, such as compost or well-rotted manure, can enhance soil fertility and provide essential nutrients for your winter crops.
By taking these steps to prepare the ground for your cold frame, you are creating an optimal environment for your plants to thrive. With a level, debris-free surface and nutrient-rich soil, your winter garden will be off to a great start.
Building the Base of Your Cold Frame
When it comes to building the base of your cold frame, there are a few key considerations to keep in mind. First and foremost, you’ll want to choose a location that receives ample sunlight throughout the day. This will help provide the necessary warmth for your plants during the colder months. It’s also important to ensure that the ground is level and well-drained to prevent any waterlogging that could harm your plants. Additionally, it’s recommended to clear away any weeds or grass in the area to create a clean and even surface for your cold frame base.
Once you have the ideal location, you can start building the base itself. One popular option is to use pressure-treated lumber or cinder blocks to create a sturdy and durable foundation. These materials are resistant to rot and can withstand the outdoor elements. Another option is to use bricks or stones, which can create a more decorative and visually appealing base. Whichever material you choose, be sure to measure and level the base properly to ensure a stable structure for your cold frame. This will help maximize its effectiveness in protecting your plants and providing them with a suitable growing environment.
Constructing the Frame and Cover for Your Cold Frame
When it comes to constructing the frame and cover for your cold frame, there are a few key considerations to keep in mind. First and foremost, selecting the right materials is crucial for ensuring the durability and functionality of your cold frame. Opt for materials such as treated wood or metal, as they are resistant to moisture and can withstand the weather conditions of the winter season.
Once you have chosen the materials, it is time to start constructing the frame of your cold frame. Begin by measuring and cutting the pieces according to the dimensions you have chosen. Then, join the pieces together using screws or nails, ensuring a secure and stable structure. It is important to keep the frame level and straight, as any irregularities can compromise the integrity of the cold frame. Next, attach the chosen cover material, such as polycarbonate sheets or greenhouse plastic, to the frame. Make sure to secure the cover tightly, as a loose or ill-fitting cover can result in heat loss and damage to your plants.
Adding Ventilation Options to Your Cold Frame
As we all know, proper ventilation is essential for maintaining a healthy environment for your plants in a cold frame. Adding ventilation options to your cold frame not only helps regulate temperature and humidity but also prevents the buildup of excessive condensation that can lead to fungal diseases. By allowing fresh air to circulate, you can create an optimal growing environment and ensure the success of your winter crops.
Optimizing Cold Frame Ventilation: Simple Solutions for Improved Airflow and Temperature Control
- Adjustable Lid Angle:
- Lid can be propped open at various angles.
- Allows control of airflow and temperature.
- Pros: Simple, inexpensive.
- Cons: Limited ventilation capacity.
- Automatic Vent Openers:
- Mechanism opens vents based on temperature.
- Requires initial setup and maintenance.
- Pros: Temperature-controlled.
- Cons: Relies on temperature changes.
- Hinged Lid:
- Lid attached with hinges for easy opening.
- Simple design, easy to access plants.
- Pros: Easy access.
- Cons: Limited control over ventilation.
- Louvered Side Vents:
- Adjustable side vents for controlled airflow.
- Offers good ventilation control.
- Pros: Adjustable, effective.
- Cons: May require manual adjustment.
- Solar-Powered Fans:
- Fans powered by solar panels for constant airflow.
- Provides continuous ventilation.
- Pros: Continuous airflow.
- Cons: Initial cost, dependency on sunlight.
One effective option for ventilation is the installation of adjustable vents or windows on the sides or top of your cold frame. These vents provide a means for hot air to escape and allow cool air to enter, preventing overheating on sunny days. Additionally, they can be closed during extremely cold nights to retain warmth and protect your plants from frost. When selecting vents or windows, choose durable materials that are resistant to the elements and can be easily opened and closed to achieve proper airflow control.
Another popular option is the use of passive ventilation techniques. This involves creating gaps or vents at the bottom or top of the cold frame to allow for natural airflow. Placing bricks or blocks underneath the frame to lift it slightly off the ground provides a way for cool air to enter, while adding an adjustable prop or pole at the top can allow hot air to escape. This passive approach requires careful planning to ensure the openings are appropriately sized to prevent excessive heat loss or entry of pests.
Incorporating effective ventilation options in your cold frame is crucial for maintaining a healthy and productive winter garden. By carefully considering the needs of your plants and the climate in your area, you can create a well-ventilated environment that supports optimal growth and protects against potential risks. So, go ahead and explore the various ventilation options available to make the most out of your cold frame gardening experience.
Insulating Your Cold Frame for Maximum Heat Retention
To ensure maximum heat retention in your cold frame, proper insulation is essential. Insulation plays a crucial role in maintaining a stable and warm environment for your winter crops. By preventing heat loss and protecting plants from frost, a well-insulated cold frame can significantly extend your growing season.
One effective method of insulating your cold frame is by using insulating materials such as bubble wrap or polycarbonate sheets. These materials act as a barrier, trapping heat inside the structure and preventing it from escaping. Bubble wrap, for instance, creates small air pockets that provide insulation and retain warmth. Polycarbonate sheets, on the other hand, offer excellent thermal insulation properties, allowing sunlight to penetrate while reducing heat loss. Depending on your location and climate, you can choose the most suitable insulation material for your cold frame.
In addition to insulation materials, another way to maximize heat retention is by incorporating thermal mass into your cold frame. Thermal mass refers to materials that can absorb, store, and release heat, creating a more stable temperature environment. Common thermal mass materials include bricks, stones, or water containers placed inside the cold frame. These materials absorb heat during the day and slowly release it at night, maintaining a consistent temperature for your plants. By utilizing insulation materials and thermal mass, you can create an optimal environment for your winter crops and ensure they thrive even in chilly conditions.
Creating a Proper Drainage System for Your Cold Frame
When creating a proper drainage system for your cold frame, it is important to consider the specific needs of your plants and the characteristics of your soil. Poor drainage can lead to waterlogged soil, which can inhibit root growth and cause plant stress. On the other hand, excessive drainage can result in excessive drying of the soil and lead to dehydration and nutrient deficiencies.
To ensure adequate drainage, start by preparing the ground beneath your cold frame. Clear away any debris or vegetation and level the surface as much as possible. This will help prevent water from pooling in uneven areas. Next, consider incorporating drainage materials such as gravel or pebbles into the bottom of your cold frame. These materials will allow excess water to drain away from the soil and prevent water accumulation. Additionally, you can create a slight slope in the ground underneath your cold frame to encourage water to flow away from the plants.
Installing a Thermometer for Temperature Monitoring
To accurately monitor the temperature inside your cold frame, it is recommended to install a thermometer. This simple yet essential tool allows you to gauge the temperature levels within the enclosure, ensuring optimal growing conditions for your winter crops.
When selecting a thermometer for your cold frame, opt for one that is specifically designed for outdoor or greenhouse use. These thermometers are typically built to withstand fluctuating temperatures and provide accurate readings in a range suitable for horticultural needs. Consider choosing a thermometer with a large, easy-to-read display for convenient temperature monitoring.
To install the thermometer, place it at a height that is representative of the average plant height within the cold frame. This will give you a reliable indication of the conditions your crops are experiencing at their growth level. Ensure that the thermometer is securely attached to a vertical support within the cold frame, away from direct contact with the frame or cover materials. By positioning the thermometer correctly, you can effectively track temperature variations and make necessary adjustments to maintain an ideal growing environment for your plants.
Preparing Your Soil for Planting in the Cold Frame
Preparing your soil for planting in the cold frame is an essential step for maximizing the growth and yields of your winter crops. The first thing to consider is the quality of your soil. Ideally, the soil should be fertile, well-draining, and rich in organic matter. This will provide the necessary nutrients and moisture retention for your plants.
One way to improve the soil quality is by adding compost. Compost is rich in nutrients and organic matter, which can enhance soil fertility and structure. Spread a layer of compost evenly over the soil surface and gently work it into the top few inches. This will ensure that your plants have access to the nutrients they need to thrive.
In addition to compost, it’s also important to test the pH level of your soil. Most winter vegetables prefer a slightly acidic to neutral pH range of 6.0 to 7.0. If your soil is too acidic or alkaline, you can adjust the pH by adding lime or sulfur, respectively. A pH test kit can help you determine the current pH level of your soil and guide you in making the necessary adjustments.
Furthermore, it’s crucial to loosen the soil before planting. Cold frames often have limited space, so using a garden fork or tiller may be impractical. Instead, use a hand-held garden cultivator or a rake to gently break up any compacted soil. This will improve aeration and water drainage, preventing waterlogging and root rot.
By preparing your soil properly, you are setting the foundation for successful plant growth in your cold frame. Remember to regularly monitor the soil moisture levels and provide appropriate watering to keep your plants healthy. In the next section, we will discuss the appropriate choice of winter crops to ensure a productive cold-frame garden.
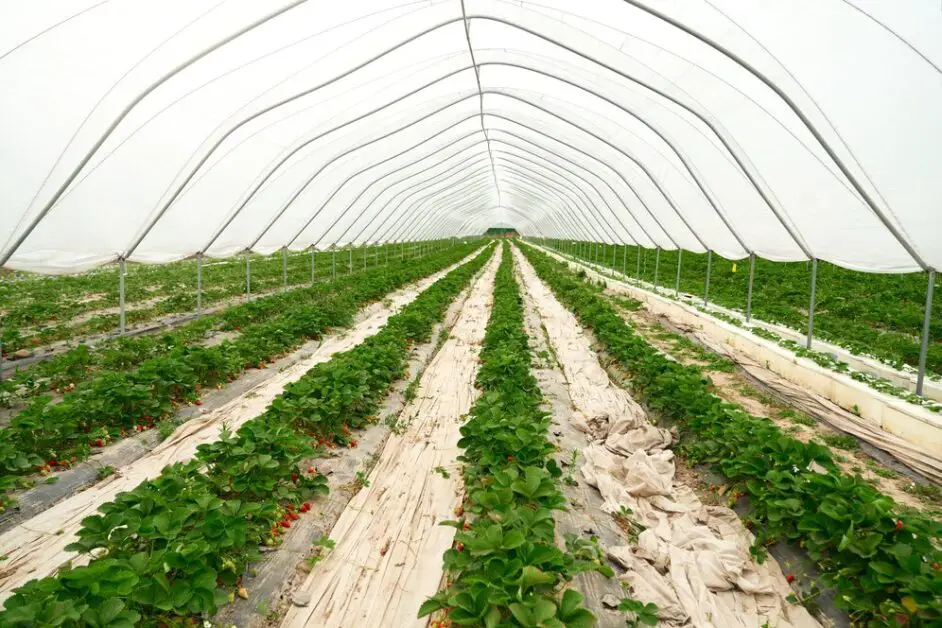
Choosing the Right Winter Crops for Your Cold Frame
When it comes to choosing the right winter crops for your cold frame, it’s important to consider plants that can thrive in low temperatures and limited sunlight. While the selection may be somewhat limited compared to the variety of warm-season crops, there are still plenty of options to ensure a productive winter garden.
One excellent choice for a winter crop is kale. This leafy green vegetable is not only incredibly hardy, but it also boasts an array of health benefits. Packed with essential vitamins and minerals, kale can withstand harsh winter conditions and continue to produce tender leaves for harvest. Another great option is spinach, which is rich in iron and antioxidants. Spinach can handle chilly temperatures and is a versatile vegetable that can be used in various culinary dishes. Other cold-tolerant crops to consider for your cold frame include Swiss chard, collard greens, and carrots, all of which can survive and thrive in colder climates.
By carefully selecting the right winter crops for your cold frame, you can enjoy a bountiful harvest even during the coldest months of the year. Implementing a diverse range of vegetables will not only provide you with fresh produce for your meals but also add a splash of color and vibrancy to your winter garden. Stay tuned for more tips on maintaining and caring for your cold frame throughout the winter season.
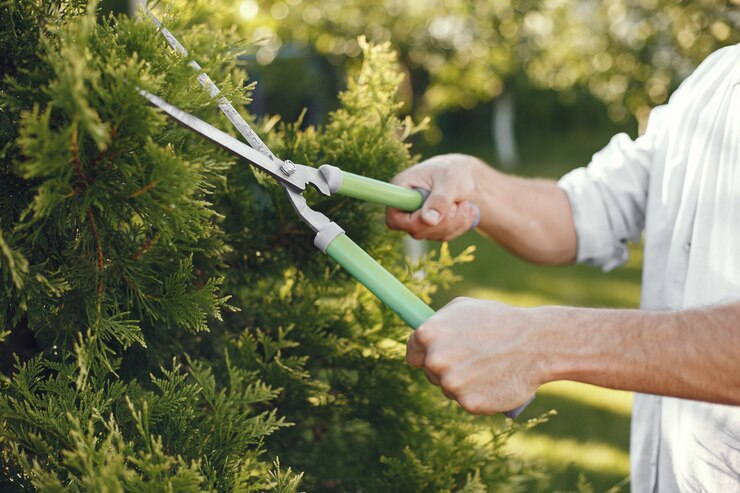
Maintaining and Caring for Your Cold Frame Throughout the Winter
Maintaining and caring for your cold frame throughout the winter is crucial for maximizing the potential of your winter garden. As the temperatures drop and the weather becomes harsh, proper maintenance and care will ensure the protection and growth of your plants.
To know more about cold frames for your winter garden watch the video!
One of the most important considerations is controlling the moisture levels inside your cold frame. During the winter months, it’s essential to monitor the moisture content in the soil regularly. Ensure that the soil remains moist, but not overly saturated, as excessive moisture can lead to root rot and other fungal diseases. Additionally, be mindful of the condensation that can accumulate on the cold frame’s cover. Wipe away any excess moisture to prevent it from dripping onto your plants and causing damage. Proper ventilation is also crucial for preventing excessive condensation and maintaining airflow inside the cold frame. Regularly check and adjust the vents or openings to ensure a good balance between air circulation and insulation.
In addition to moisture control, it’s important to tend to any potential pests or diseases that may arise during the winter months. Inspect your plants regularly for signs of pest infestation, such as webbing, chewed leaves, or wilted growth. If you notice any issues, take appropriate measures to eliminate the pests, using non-toxic methods whenever possible. Disease prevention is equally vital, especially in the confined space of a cold frame. Remove any affected or diseased plant parts promptly to prevent the spread of infection. Remember to maintain good hygiene practices by disinfecting your tools and equipment regularly to minimize the risk of contamination.
By dedicating time and attention to maintaining and caring for your cold frame throughout the winter, you can create ideal conditions for your plants to thrive. Stay vigilant in monitoring moisture levels, ensure proper ventilation, and address any pest or disease issues promptly. With proper care, your winter garden will flourish, providing you with a bountiful harvest even during the coldest months.
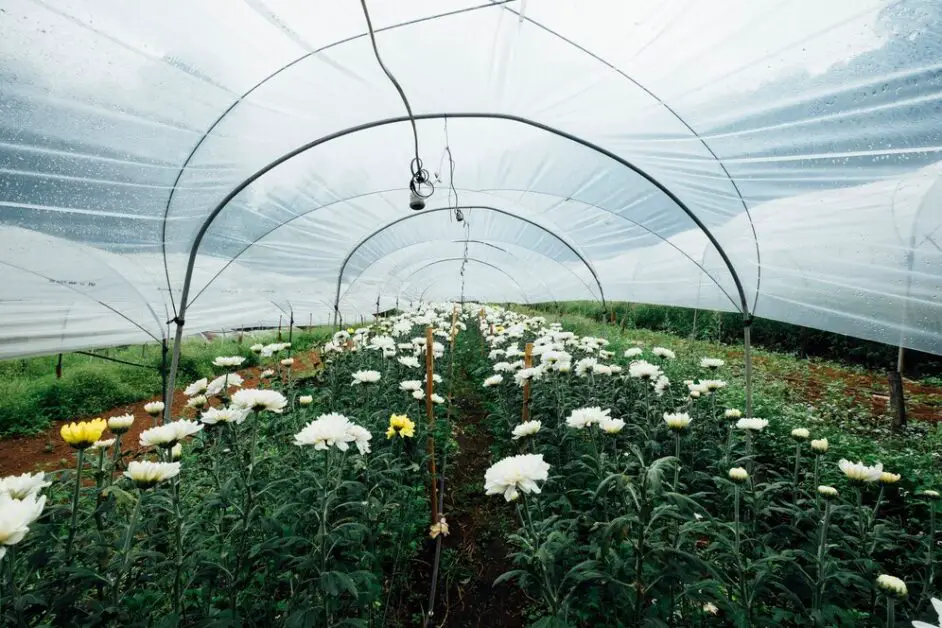
Extending the Growing Season with Your Cold Frame
Extending the growing season with a cold frame is one of the best ways to continue cultivating your plants even when the winter chill sets in. By providing a controlled environment that shields your plants from extreme temperatures and frost, a cold frame allows you to extend the harvest well into the colder months. With proper care and maintenance, you can enjoy a longer growing season and continue reaping the rewards of your hard work.
One of the key benefits of using a cold frame is the ability to regulate the temperature inside. By capturing and retaining heat from the sun during the day, the cold frame creates a warm and sheltered space for your plants. This extra warmth not only protects them from freezing temperatures but also stimulates growth. As the outside temperatures drop, the cold frame acts as a barrier against harsh winds, providing an excellent microclimate for your crops. With the added advantage of controlling ventilation, you can create an ideal environment that suits the needs of various plants throughout the winter season.
What is a cold frame and what is its purpose?
A cold frame is a structure used in gardening to extend the growing season by providing a protected environment for plants. It acts as a miniature greenhouse, capturing solar heat and protecting plants from harsh weather conditions.
How do I choose the right size for my cold frame?
The size of your cold frame depends on how many plants you want to grow and the available space. Consider the number of plants you want to fit inside comfortably, as well as the height needed for taller plants to grow without being cramped.
What materials are commonly used to build a cold frame?
Common materials for constructing a cold frame include wood, bricks, cinder blocks, or even recycled windows. Choose materials that are sturdy, weather-resistant, and can provide good insulation.
How can I ensure proper drainage in my cold frame?
To create a proper drainage system, ensure that the ground beneath your cold frame is well-leveled and slightly sloped to allow water to flow away. Additionally, you can add gravel or small rocks at the bottom of the frame to improve drainage.
Can I use a thermometer to monitor the temperature inside the cold frame?
Yes, installing a thermometer inside your cold frame is highly recommended. It will help you monitor the temperature and make necessary adjustments to ensure the optimal conditions for your plants.
What crops are suitable for growing in a cold frame during winter?
Certain winter crops thrive in a cold frame, such as lettuce, spinach, kale, carrots, radishes, and herbs like parsley and cilantro. These crops can tolerate cooler temperatures and still grow well.
How do I maintain and care for my cold frame during the winter?
Regularly check the temperature inside the cold frame, opening or closing the vents as needed to regulate heat. Remove any snow buildup on the cover to allow sunlight in. Monitor moisture levels and water the plants when necessary.
Can a cold frame be used in warmer climates?
Yes, a cold frame can be used in warmer climates as well. It can help protect plants from excessive heat, pests, and provide a controlled environment for seed germination or early plant growth.
Can I use a cold frame for starting seeds in the spring?
Absolutely! Cold frames are excellent for starting seeds in the spring. They provide a controlled environment with protection from frost, allowing seeds to germinate and seedlings to grow before transplanting them into the garden.