How to Transplant a Plant: A Step-by-Step Guide to Relocating Your Plants Safely and Successfully
Ever wondered why your plants seem to outgrow their pots faster than you can say “photosynthesis”? Well, fear not, green thumbs! Whether you’re a seasoned gardener or just starting to dabble in the world of plants, learning how to transplant them is a crucial skill to master. From giving your leafy friends room to spread their roots to ensuring they thrive in their new environment, the process can be both rewarding and therapeutic. In this comprehensive guide, we’ll walk you through each step of the transplanting journey, sharing expert tips and tricks along the way. Get ready to dig in and watch your garden flourish like never before!
Table of Contents
Understanding the Need for Transplanting: Why and When to Relocate Your Plants
Relocating plants may seem like a daunting task, but understanding the need for transplanting and knowing when to do it can greatly benefit the health and growth of your plants. There are several reasons why you might consider transplanting your plants.
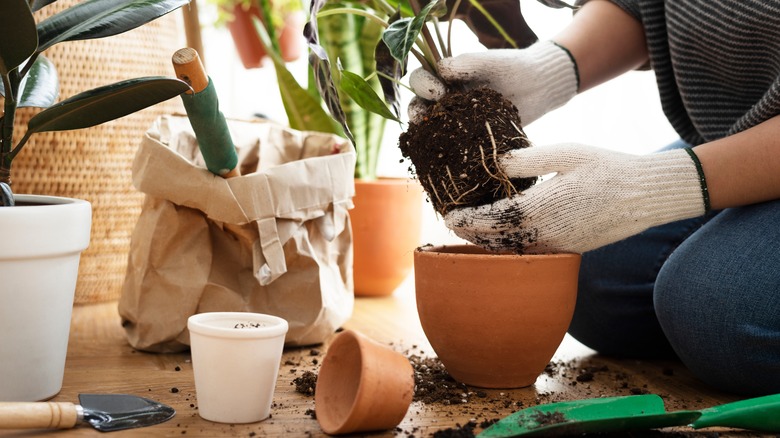
- Reasons for Transplanting:
- Space Requirements: Plants may outgrow their current location, necessitating more space for healthy growth.
- Root System and Branches: Overcrowded root systems or branches can hinder a plant’s development.
- Aesthetics: Transplanting allows you to create visually pleasing arrangements in your garden.
- Timing Considerations:
- Dormant Period: Most plants tolerate transplanting best during their dormant period (usually late fall or winter).
- Stress Reduction: Transplanting during dormancy minimizes stress and helps plants adjust to new surroundings.
- Exceptions: Some plants with delicate roots or specific growth patterns may require different transplanting times.
Remember, thoughtful timing and care during transplanting contribute to successful plant establishment! 🌱🌿🌼Researching the specific requirements of each plant before making any decisions will help ensure a successful relocation process.
Assessing the Health and Readiness of Your Plants for Transplantation
Assessing the health and readiness of your plants is crucial before undertaking a transplantation process. This step ensures that your plants are in their optimal condition and can successfully adapt to their new environment.

- Begin by visually inspecting your plants for any signs of disease, pests, or nutrient deficiencies.
- Look for abnormalities such as discoloration, spots, wilting leaves, or pest infestations.
- Check the overall appearance of the foliage and stems for any visible issues.
- Take note of any unusual growth patterns or stunted growth.
- Assess the root system by gently loosening the soil around the base of the plant.
- Carefully lift the plant to examine the roots, which should be white or light-colored, firm, and well-distributed throughout the soil.
- Look out for roots that are discolored, mushy, or emit an unpleasant odor, as these may indicate root rot or other health issues.
- Consider the size of the root system in proportion to the plant’s overall size to ensure a balanced root-to-shoot ratio.
- Address any identified issues before proceeding with the transplantation process to ensure the health and vitality of your plants.
Selecting the Ideal Location for Your Transplanted Plants
When selecting the ideal location for your transplanted plants, there are several factors to consider. First and foremost, it is important to choose a location that will provide the necessary sunlight for your plants to thrive. Different plants have different light requirements, so it is important to do your research and understand the specific needs of the plants you are transplanting.
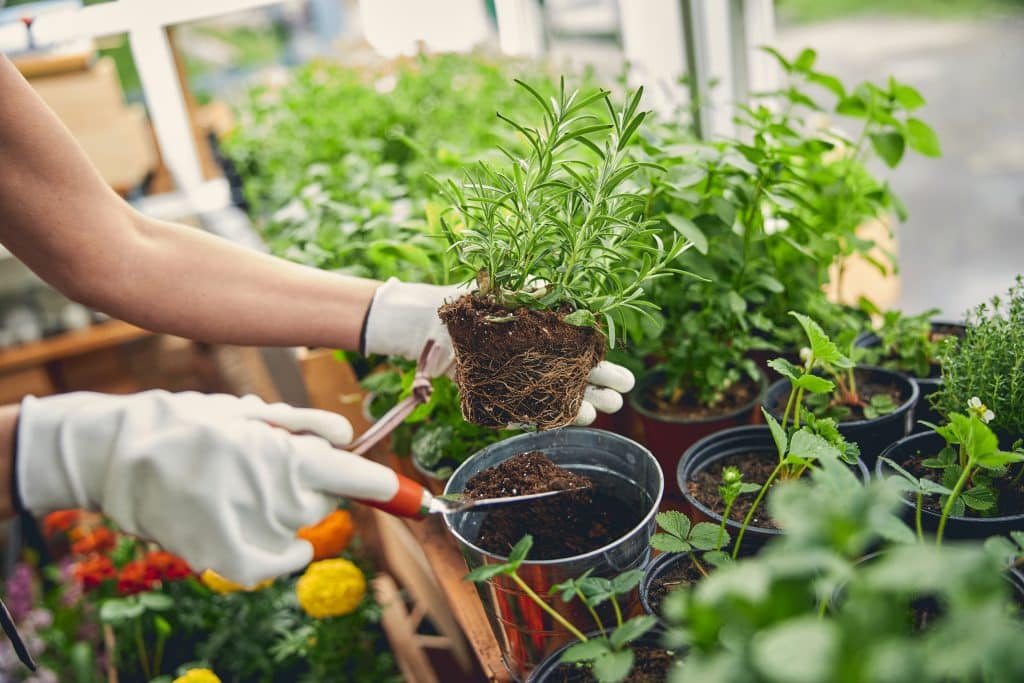
- Soil Conditions:
- Well-Drained Soil: Ensure that the soil drains well to prevent waterlogging around the roots.
- Nutrient-Rich Soil: Transplanted plants need nutrients for healthy growth. Conduct a soil test to determine the pH level and nutrient content.
- Amendments: Based on the soil test results, make necessary amendments (e.g., adding organic matter, adjusting pH).
- Protection from Wind and Extreme Weather:
- Wind Exposure: Choose a location protected from strong winds. High winds can damage delicate young plants.
- Windbreaks: If needed, create windbreaks using fences, shrubs, or other structures to shield plants from harsh winds.
Considering these factors will ensure that you select an ideal location for your transplanted plants, giving them the best chance to thrive and flourish in their new surroundings. By providing the right amount of sunlight, nutritious soil, and protection from the elements, you are setting the stage for successful transplantation and healthy plant growth.
Preparing the New Planting Site for a Successful Transplantation
Preparing the new planting site is a crucial step in ensuring a successful transplantation of your plants. The site must be carefully selected and properly prepared to provide the optimal conditions for the plants to thrive in their new environment.
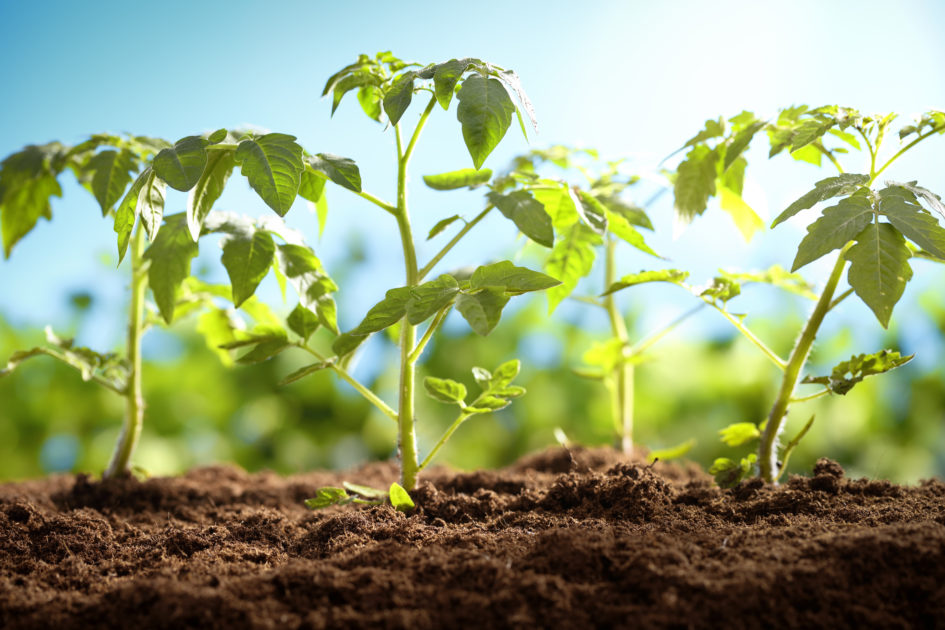
- Research the specific sunlight, water, and soil requirements of your plants before selecting a transplanting site.
- Choose a location that can adequately meet the needs of your plants, ensuring they receive the proper amount of sunlight and moisture.
- Prepare the soil by removing any weeds, rocks, or debris that may hinder plant growth or compete for nutrients.
- Loosen the soil by tilling it to improve drainage and facilitate root penetration.
- Consider adding organic matter such as compost or well-rotted manure to enrich the soil and provide essential nutrients for plant growth.
- Ensure that the soil is well-prepared and nutrient-rich to provide a strong foundation for your transplanted plants to establish themselves and thrive in their new environment.
By taking the time to properly prepare your new planting site, you are creating the best possible environment for your transplanted plants to thrive and flourish.
Choosing the Right Tools and Supplies for the Transplantation Process
To ensure the successful transplantation of your plants, it is crucial to choose the right tools and supplies for the process. Having the proper equipment will not only make your job easier but also minimize the potential stress on your plants during the relocation.

- Gardening Gloves: High-quality gloves protect your hands from sharp edges, thorns, and prevent the transfer of diseases or pests between plants.
- Pruning Shears: A sturdy pair of pruning shears helps trim overgrown branches or roots before transplantation.
- Transplanting Containers or Pots: Invest in reliable containers with drainage holes to prevent waterlogging. Handles make it easier to move plants without causing damage.
- Trowel: A durable trowel assists in loosening soil around plants without harming their roots.
- Long-Handled Shovel: Necessary for larger plants or when dealing with compacted soil.
- High-Quality Transplanting Soil Mix: Use a specialized mix formulated for transplanting. It should provide nutrients and proper drainage for healthy root development.
By selecting the right tools and supplies, you are setting yourself up for success in the transplantation process. Remember, investing in good-quality equipment will not only benefit your plants but also make the entire experience more enjoyable for you as a gardener.
The Fiskars Ergo Trowel has been a game-changer in my gardening routine. Its ergonomic design significantly reduces strain on my hands, allowing me to tackle various tasks with ease. Whether planting delicate seedlings or digging through compacted soil, this trowel effortlessly handles it all. Its durability ensures it withstands rigorous use, while the smooth surface makes cleaning a breeze. While it may come at a slightly higher price point, the comfort and quality provided by this tool make it a worthwhile investment for any gardener looking to elevate their gardening experience.
The Fiskars Long-Handled Round Digging Shovel has been an absolute game-changer in my gardening endeavors. Its extended handle provides excellent leverage, reducing strain on my back and arms during digging tasks. The durable construction ensures it withstands tough soil conditions without bending or breaking. The comfort grip handle allows for extended use without discomfort, and its sharp blade effortlessly cuts through soil and roots. While it may be heavier than standard shovels, its efficiency and durability make it a worthwhile investment for any gardener or landscaper.
✅ Durable Construction: Made from high-quality materials, this trowel offers durability and longevity, ensuring it withstands regular garden tasks and tough soil conditions.
✅ Versatile: Suitable for a wide range of gardening tasks, including planting, transplanting, and soil mixing, making it a versatile tool for any gardener.
✅ Easy to Clean: The smooth surface of the trowel makes it easy to clean after use, allowing for hassle-free maintenance and longevity.
✅ Trusted Brand: Fiskars is a reputable brand known for producing high-quality gardening tools, offering peace of mind regarding product reliability and performance.
❌ Size: Some users may find the size of the trowel to be smaller or larger than expected, depending on personal preferences and hand size.
❌ Limited Color Options: The trowel may only be available in a limited range of colors, which could be a drawback for those seeking specific aesthetic preferences.
❌ Soil Sticking: While the smooth surface facilitates easy cleaning, some users may experience soil sticking to the blade during use, requiring occasional wiping or rinsing.
❌ Handle Material: Although ergonomic, the handle material may not provide the same level of grip as rubberized or textured handles, potentially posing a slipping risk in wet or muddy conditions.
✅ Durable Construction: Made from high-quality materials, this shovel is built to withstand tough digging conditions, ensuring long-term durability and reliability.
✅ Comfort Grip: The ergonomic handle design with a comfort grip ensures comfortable use, even during extended periods of digging.
✅ Versatile: Suitable for a variety of digging tasks, including planting, trenching, and soil removal, making it a versatile tool for gardening and landscaping projects.
✅ Sharp Blade: The shovel’s sharp blade edge easily cuts through soil, roots, and other materials, facilitating efficient digging with minimal effort.
❌ Storage Space: The extended handle requires more storage space compared to standard shovels, which could be a consideration for those with limited storage options.
❌ Price: The Fiskars Long-Handled Round Digging Shovel may be priced higher than other shovels on the market, which could be a deterrent for budget-conscious buyers.
❌ Handle Material: While comfortable, the handle material may not provide the same level of grip as rubberized or textured handles, especially in wet or muddy conditions.
❌ Size: Some users may find the size of the shovel to be larger or smaller than expected, depending on personal preferences and physical stature.
Carefully Digging Up Your Plants: Techniques for Removing Them from the Ground
When it comes to transplanting your plants, one of the most crucial steps is carefully digging them up from their current location. This process requires precision and attention to detail in order to minimize damage to the plant’s root system. It is important to use proper techniques to ensure the plant’s successful relocation and minimize stress.

- Prepare the transplanting area by removing rocks, weeds, or other obstacles that could impede the process.
- Use a sharp spade or shovel to dig around the perimeter of the plant, creating a circle around the rootball.
- Dig deep enough to avoid severing large roots, which are essential for nutrient uptake and stability.
- Gently lift the plant from the ground, ensuring to keep the rootball intact.
- Support the rootball from the bottom to prevent it from breaking apart or losing soil.
- Avoid handling the plant by its stems or leaves to prevent damage to sensitive tissues.
- Transfer the plant to a suitable container or wrap the rootball in moist burlap to maintain its moisture levels during transportation or relocation.
By following these careful digging techniques, you can ensure a successful transfer of your plants to their new location. Remember, taking the time and care during this stage of the transplantation process will contribute to the overall health and vitality of your plants in their new environment.
Safely Handling and Protecting the Roots of Your Transplanted Plants
When it comes to transplanting your plants, one of the most critical steps is safely handling and protecting the roots. The roots are the lifeline of the plant, responsible for absorbing water and nutrients from the soil. Any damage to the roots during the transplantation process can significantly impact the plant’s ability to establish itself in its new location.
_jacquelinechua.jpg)
- Loosen Soil Around the Base: Use a garden fork or trowel to gently loosen the soil around the base of the plant. Be cautious not to dig too close to the stem to avoid damaging vital roots. Gradually work your way around the plant to create a generous root ball.
- Lift the Plant by the Root Ball: When lifting the plant from the ground, hold it by the root ball. Avoid gripping the stem or leaves, as this can stress and harm the plant. Support the root ball firmly but gently to keep it intact during the entire process.
- Place in a Suitable Container or Tarp: Transfer the plant to a container or tarp to protect the roots from exposure. If you need to transport the plant, ensure the roots remain covered and moist. You can wrap the root ball in a damp burlap sack or use a water-filled container.
Remember, protecting the roots is one of the key factors in ensuring a successful transplant. By handling them with care and safeguarding them during the process, you give your plants the best chance to thrive in their new environment.
Properly Pruning and Trimming Your Plants for Successful Transplantation
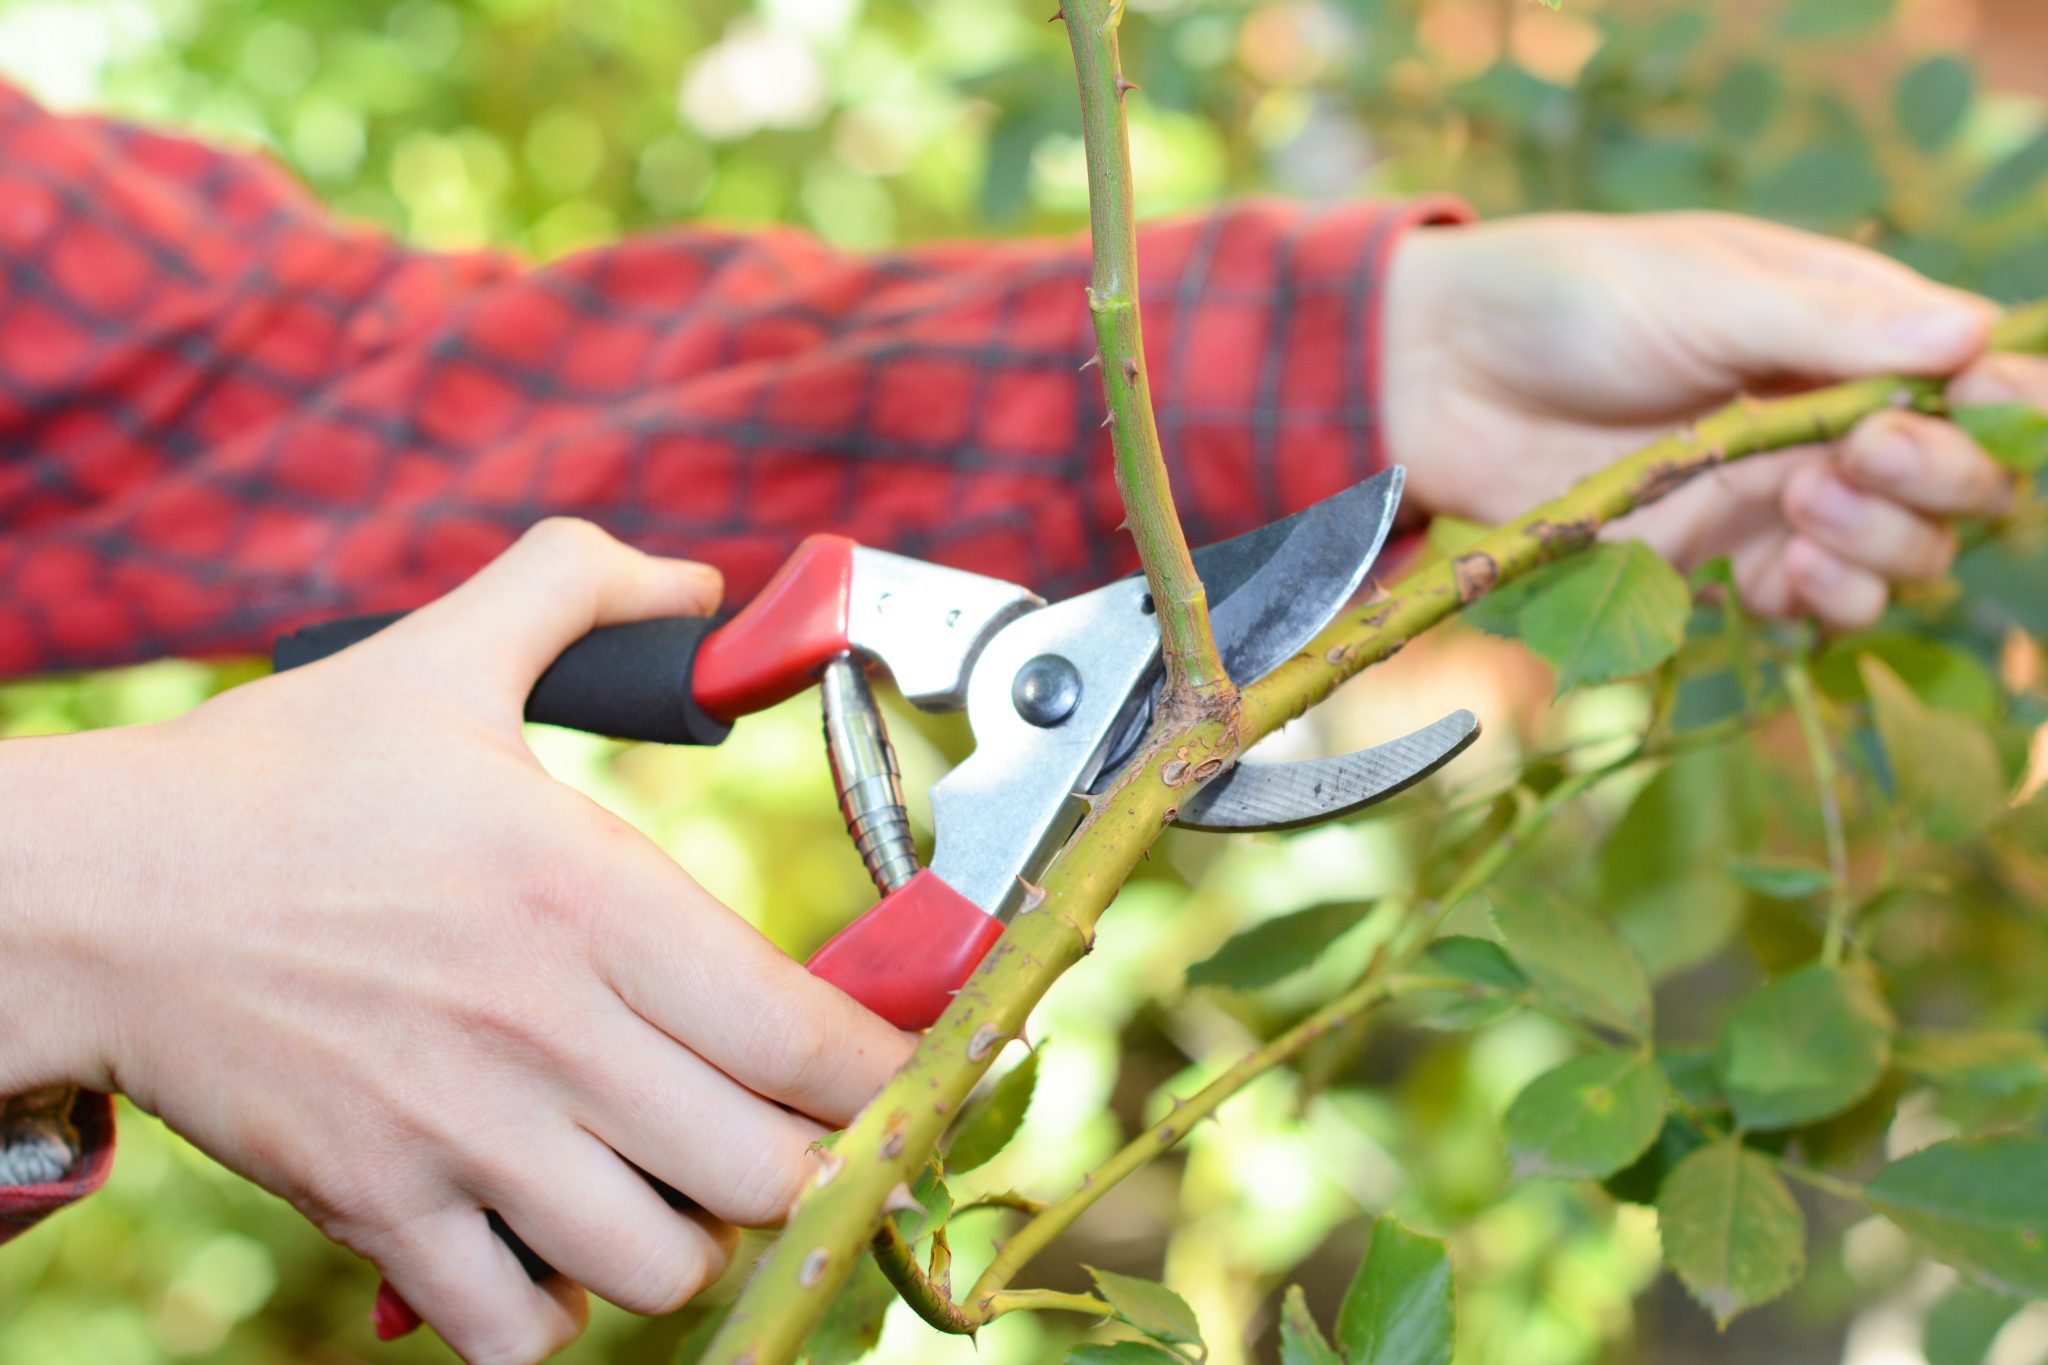
To ensure a successful transplantation, proper pruning and trimming of your plants is crucial. This step helps you remove any damaged or diseased parts, allowing the plants to allocate their resources towards healthy growth in their new location. Additionally, pruning and trimming can help reduce the stress and shock that plants may experience during the transplantation process.
- Assess Plant Health:
- Before you start pruning or trimming, examine your plants for any signs of disease, pest infestation, or nutrient deficiencies.
- Remove dead or yellowing leaves promptly, as they can harbor pests or diseases that might spread to other parts of the plant.
- Use Clean and Sharp Tools:
- Always use clean and sharp pruning shears or scissors to minimize damage.
- Dull tools can crush stems and create jagged cuts, which can lead to infections.
- Sterilize your tools between cuts if you’re working with multiple plants.
- Pruning Techniques:
- Pruning: This involves selectively removing specific branches or stems to shape the plant, encourage new growth, or remove damaged parts.
- Make clean cuts just above a healthy bud or branch junction.
- Avoid cutting too close to the bud or leaving stubs.
- Focus on removing weak, dead, or overcrowded branches.
- Prune during the dormant season (winter or early spring) for most plants.
- Trimming: Trimming typically refers to cutting back the top growth of the plant.
- It helps balance the foliage and root system, reducing stress during transplantation.
- Aim to remove about one-third of the overall plant height.
- Focus on outermost branches and upward growth.
- Trim after flowering for flowering plants.
- Pruning: This involves selectively removing specific branches or stems to shape the plant, encourage new growth, or remove damaged parts.
- Avoid Excessive Pruning:
- While pruning is beneficial, avoid excessive removal of foliage.
- Over-pruning can weaken the plant and slow down its recovery after transplanting.
- Balance between shaping the plant and maintaining its health.
By properly pruning and trimming your plants, you provide them with the best chance for successful transplantation. Remember to always consider the specific needs of your plant species and follow proper techniques to ensure their health and vigor in their new environment.
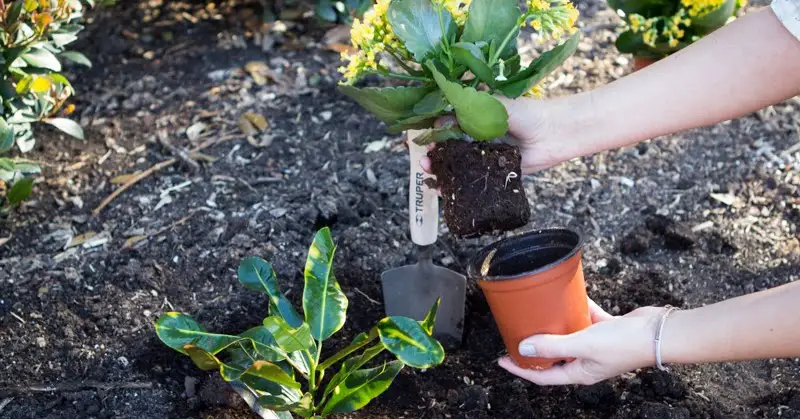
Transplanting Your Plants: Step-by-Step Instructions for Relocating Them
When it comes to transplanting your plants, following a step-by-step process is crucial for a successful relocation. By carefully executing each stage, you can minimize stress on the plants and maximize their chances of thriving in their new environment.
- Prepare the new planting site by clearing weeds and debris and ensuring well-drained, fertile soil.
- Choose a location with the right amount of sunlight and shade according to your plants’ specific needs.
- Proper soil preparation establishes a stable foundation for transplanted plants, promoting healthy growth.
- Dig around the plant using a garden fork or shovel, ensuring a wide perimeter to avoid root damage.
- Lift the plant gently from the ground, taking care not to shake off or damage the roots.
- Place the plant in a bucket or container with water to keep roots moist and prevent drying out.
- Handle roots with care throughout the process, as their health is crucial for successful transplant establishment.
By maintaining the integrity of the root system, you provide the plants with a solid foundation for adaptation and growth. Stay tuned as we continue with the next steps in the transplanting process, ensuring that your plants thrive in their new home.
Ensuring Adequate Watering and Irrigation for Newly Transplanted Plants
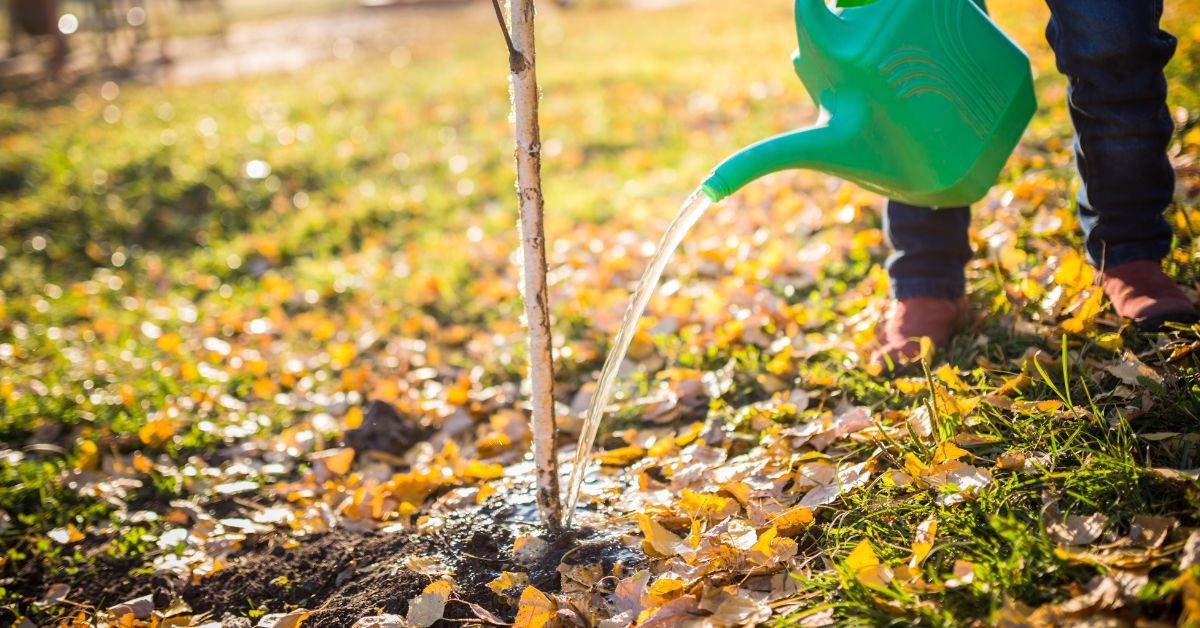
Newly transplanted plants require careful attention to ensure their survival and development. One essential aspect of post-transplantation care is ensuring that the plants receive adequate watering and irrigation. Water plays a crucial role in the establishment of transplanted plants, as it helps them to overcome the stress caused by the transplantation process and promotes healthy root development.
- Moisture Balance:
- Strive for a balance between providing adequate moisture and avoiding overwatering.
- Overwatering can lead to root rot, while underwatering can cause wilting and stunted growth.
- Moisture Check:
- Regularly assess the soil moisture around the plant’s root zone.
- Use your finger or a moisture meter to probe the soil.
- If the soil feels dry to the touch, it’s time to water.
- If it feels damp or moist, hold off on watering until it dries out a bit.
- Weather Considerations:
- Take into account the prevailing weather conditions.
- Hot and windy days may require more frequent watering.
- Cooler or rainy days may reduce the need for watering.
- Plant-Specific Requirements:
- Different plants have varying water needs.
- Research the specific requirements of the plant species you’ve transplanted.
- Factors like sunlight exposure, soil type, and plant size influence water needs.
- Irrigation Techniques:
- Consider using drip irrigation or soaker hoses.
- These methods deliver water directly to the root zone.
- Minimize water loss through evaporation.
- Provide a slow, steady supply of moisture, allowing roots to absorb water effectively.
Overall, ensuring adequate watering and irrigation for newly transplanted plants is a critical step in their post-transplantation care. By monitoring soil moisture levels, avoiding overwatering, and employing appropriate irrigation methods, you can provide the optimal growing conditions for your transplanted plants and set them on the path to healthy growth and development.
Applying Fertilizer and Nutrients to Support the Growth of Transplanted Plants
Applying the right fertilizer and nutrients is crucial to ensure the healthy growth of transplanted plants. When plants are relocated, they undergo a period of adjustment and can experience stress. By providing them with the necessary nutrients, you can support their growth and help them establish themselves in their new environment.
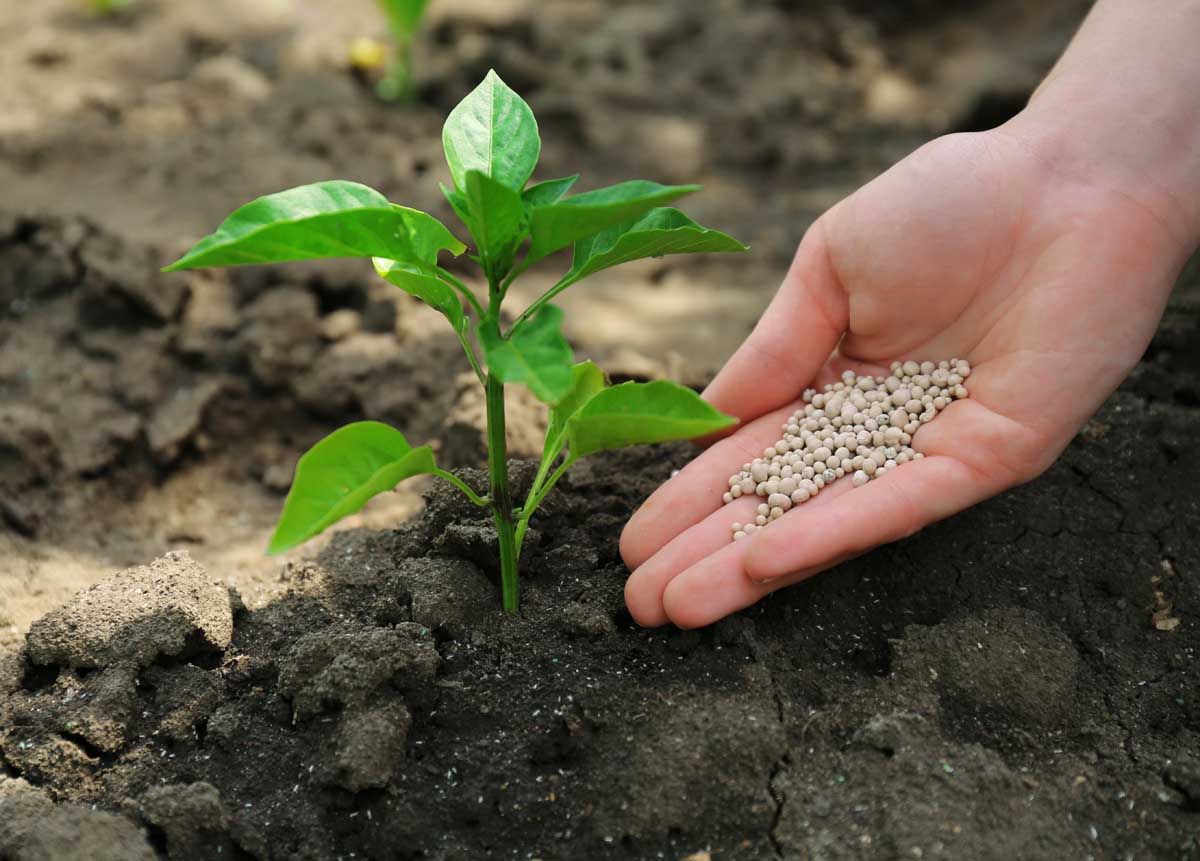
- Choose the correct type and formulation of fertilizer based on the specific nutrient requirements of the plants you are transplanting.
- Select a fertilizer that provides essential elements such as nitrogen, phosphorus, and potassium in appropriate proportions.
- Consider incorporating organic matter into the soil to provide a steady release of nutrients and improve the overall soil quality.
- Wait a few weeks after transplanting before applying fertilizer to allow the plants to acclimate and establish their root systems.
- Applying fertilizer too soon can potentially cause root burn and harm the plants, so timing is crucial.
- Once the plants have settled in, apply a balanced fertilizer following the manufacturer’s instructions to support their continued growth and development.
Remember, while fertilizer is important, it is just one part of a comprehensive approach to plant care. Other factors, such as sunlight, water, and proper pruning, also play significant roles in the health and growth of your transplanted plants. By considering all these factors and providing the appropriate care, you can ensure that your transplanted plants thrive in their new home.
I’ve been using Jobe’s Organics Granular Fertilizer for a while now, and I’m impressed with the results. The organic formula provides my plants with a steady supply of nutrients, promoting healthy growth without the risk of chemical buildup in the soil. It’s easy to apply, and I appreciate that it’s gentle on the environment. While it may take a bit longer to see results compared to synthetic fertilizers, the long-term benefits to soil health and plant vitality make it worth the wait. Overall, I highly recommend Jobe’s Organics for anyone looking for a reliable and sustainable fertilizer option.
- Organic: Made from natural ingredients, safe for plants and the environment.
- Slow-release: Provides continuous nutrition to plants over time, reducing the need for frequent reapplication.
- Balanced formula: Contains essential nutrients like nitrogen, phosphorus, and potassium for healthy plant growth.
- Easy to use: Granular form makes it convenient to apply and distribute evenly around plants.
- Promotes soil health: Helps improve soil structure and fertility, leading to stronger, more resilient plants.
- Limited nutrient variety: While it contains essential nutrients, it may lack some micronutrients found in other fertilizers.
- Initial cost: Organic fertilizers can be more expensive upfront compared to synthetic options.
- Requires patience: Results may take longer to see compared to chemical fertilizers, as it relies on natural processes for nutrient release.
- Potential odor: Organic fertilizers can have a strong smell initially, although it usually dissipates quickly.
- Not suitable for all plants: Some plants may require specific nutrient formulations not provided by this fertilizer.
Monitoring and Providing Care for Your Transplanted Plants in the Post-Transplantation Phase
Once you have successfully transplanted your plants, it is important to monitor and provide care for them in the post-transplantation phase. This crucial period is when your plants are adjusting to their new environment and establishing their roots in the soil. The following guidelines will help you ensure the health and vitality of your transplanted plants.
Observe your plants closely for signs of stress, such as wilting, yellowing leaves, or slow growth.
Early detection allows you to take prompt action and improve their chances of recovery.
Transplanted plants often require more frequent watering initially.
Balance between providing enough moisture and avoiding overwatering.
Monitor soil moisture consistently and adjust your watering regimen accordingly.
Maintain a regular watering schedule.
Ensure that the soil remains moist but not waterlogged.
Consider using a balanced fertilizer or organic nutrients specifically designed for transplanting plants.
These nutrients support growth and establishment in the new location.
Be vigilant for any signs of pests or diseases.
Address issues promptly to prevent them from affecting your plants.
Organic pest control methods are preferable if you value natural approaches.
| Post-Transplant Care for Plants | Key Actions and Considerations |
|---|---|
| 1. Watering Routine | – Regular Moisture: Ensure consistent soil moisture for roots. |
| – Avoid Waterlogged Soil: Prevent waterlogging by proper drainage. | |
| 2. Mulching | – Mulch Application: Apply mulch to retain soil moisture. |
| – Weed Suppression: Mulch helps suppress weeds around plants. | |
| 3. Sun Exposure | – Gradual Sun Exposure: Gradually expose plants to sunlight. |
| – Protect from Harsh Sun: Provide shade during peak sunlight hours. | |
| 4. Pruning and Pinching | – Remove Damaged Parts: Trim damaged leaves or stems. |
| – Encourage Bushiness: Pinch or prune to promote bushier growth. | |
| 5. Fertilization | – Gentle Fertilization: Use a mild, balanced fertilizer post-transplant. |
| – Avoid Over-Fertilizing: Prevent stress from excessive nutrients. | |
| 6. Pest and Disease Monitoring | – Regular Inspection: Monitor for pests and diseases. |
| – Early Intervention: Address issues promptly upon detection. | |
| 7. Staking (if needed) | – Provide Support: Stake tall or delicate plants for stability. |
| – Avoid Damage: Be gentle to prevent damage during staking. | |
| 8. Temperature Considerations | – Avoid Extreme Conditions: Protect from extreme heat or cold. |
| – Transition Gradually: Acclimate plants to outdoor temperatures. |
Troubleshooting Common Issues and Challenges in Plant Transplantation
- Transplant Shock:
- Symptoms: Wilting, leaf drop, stunted growth.
- Causes:
- Root damage during transplantation.
- Inadequate watering.
- Changes in light and temperature conditions.
- Prevention and Mitigation:
- Hydration: Ensure plants are well-hydrated before transplanting.
- Post-Transplant Care:
- Maintain a regular watering schedule.
- Monitor soil moisture to prevent overwatering or underwatering.
- Gradually acclimate plants to their new environment (partial shade initially).
- Protect from extreme weather conditions (wind, intense sunlight, frost).
- Nutrient Deficiency:
- Cause: Variations in soil composition at the new planting site.
- Effects:
- Poor plant health.
- Reduced growth.
- Increased susceptibility to diseases and pests.
- Solutions:
- Use balanced fertilizers or organic nutrients specifically for transplanted plants.
- Research the specific nutrient needs of the plant species you’ve transplanted.
- Consider soil amendments if necessary.
Conducting a soil analysis before transplantation can help identify nutrient deficiencies and allow gardeners to amend the soil accordingly. Supplementing the soil with organic matter or fertilizers can provide the necessary nutrients for plants to thrive in their new location. Regular monitoring and maintaining proper nutrient levels will support the long-term health and growth of transplanted plants.
Watch video for more information:
FAQ
What are some common issues that can arise during plant transplantation?
Common issues during plant transplantation include transplant shock, root damage, inadequate watering, nutrient deficiencies, and pest or disease infestations.
How can I prevent transplant shock in my plants?
To prevent transplant shock, it is important to carefully handle the roots, minimize root exposure to air, ensure proper hydration before and after transplantation, and provide adequate shade and protection from extreme weather conditions.
What signs indicate that my transplanted plants are experiencing root damage?
Signs of root damage in transplanted plants include wilting, stunted growth, yellowing or browning of leaves, and overall decline in plant health.
Can I transplant my plants at any time of the year?
The ideal time for transplanting plants depends on the species and region. In general, it is best to transplant during the plant’s dormant or less active growth period to minimize stress.
How do I know if the new planting site is suitable for my transplanted plants?
The new planting site should have proper sunlight exposure, well-drained soil, and sufficient space for the plants to grow. Additionally, consider the specific requirements of the plants you are transplanting.
Do I need to prune my plants before transplanting them?
Pruning can help reduce stress on the transplanted plants by minimizing the demand on their root systems. However, it is essential to follow proper pruning techniques and avoid excessive removal of foliage.
How often should I water my newly transplanted plants?
Newly transplanted plants require frequent watering to establish their roots. Water them deeply, but avoid overwatering, as it can lead to root rot. Monitor the soil moisture and adjust the watering frequency accordingly.
When should I start fertilizing my transplanted plants?
It is generally recommended to wait a few weeks after transplantation before applying fertilizers. This allows the plants to establish their root systems and reduces the risk of fertilizer burn.
How can I identify and treat common pests and diseases that may affect my transplanted plants?
Regularly inspect your transplanted plants for signs of pests or diseases, such as abnormal growth, discoloration, or presence of insects. Consult a gardening expert or use appropriate organic or chemical treatments, depending on the issue.
What should I do if my transplanted plants are not thriving?
If your transplanted plants are struggling, evaluate their environmental conditions, watering, and nutrient levels. Adjust these factors accordingly and consider seeking advice from a local gardening professional for specific recommendations.
Studied Agricultural Engineering-Plant Protection at University of California, Davis.
Head of Content writing team at Southelmontehydroponics.com

