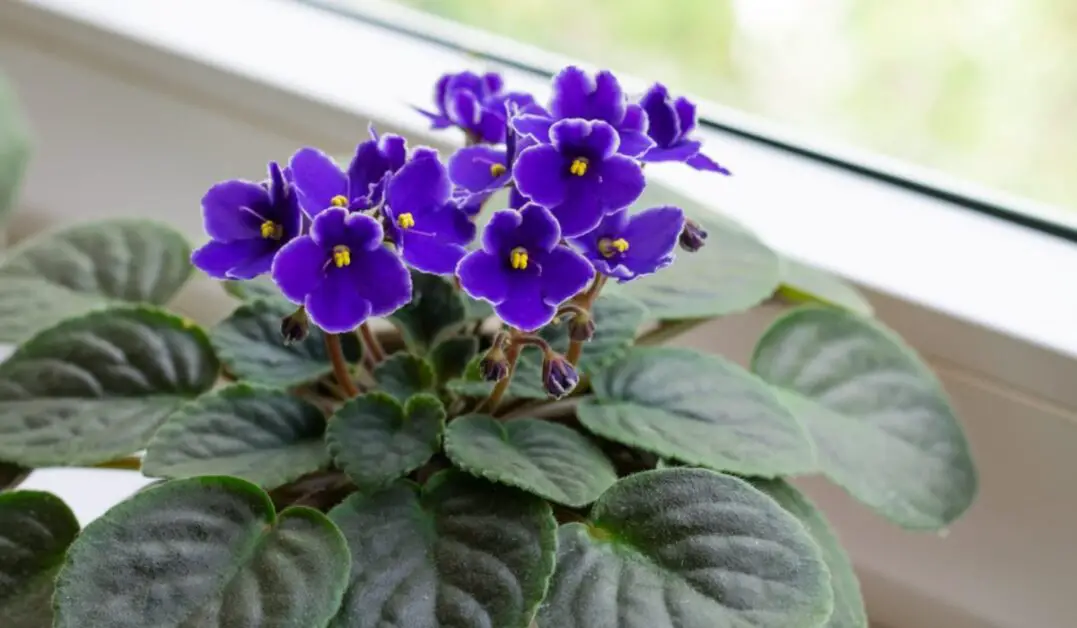
Planting, Growing, and Caring for African Violets
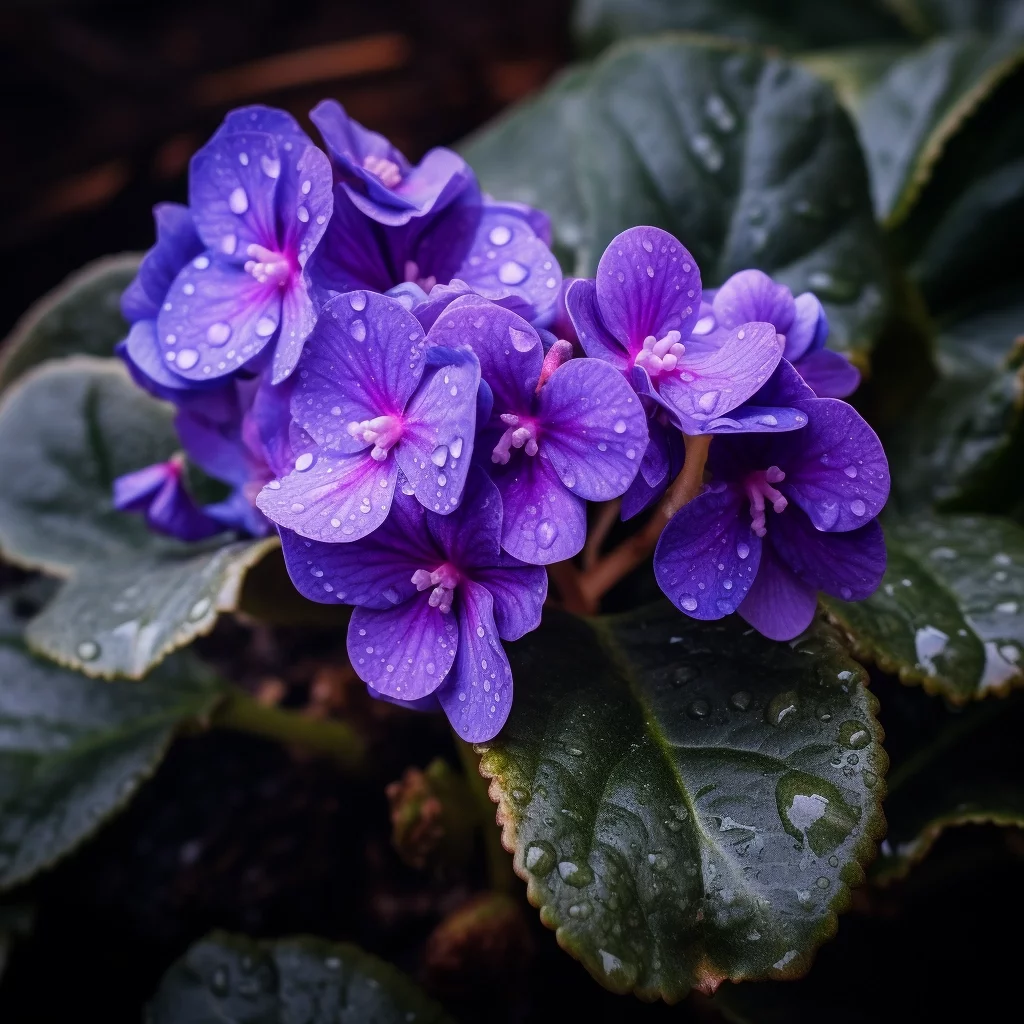
Are you ready to add a pop of color to your home with African Violets? These charming plants are not only beautiful but also easy to care for, making them a perfect choice for both experienced and novice gardeners. Did you know that African Violets are known for their vibrant flowers that come in a variety of colors?
As an experienced gardener, I can guide you through the process of planting, growing, and caring for these delightful plants. Whether you’re looking to brighten up your living space or expand your indoor garden, African Violets are a fantastic option. Get ready to cultivate these stunning blooms and bring a touch of nature indoors!
Table of Contents
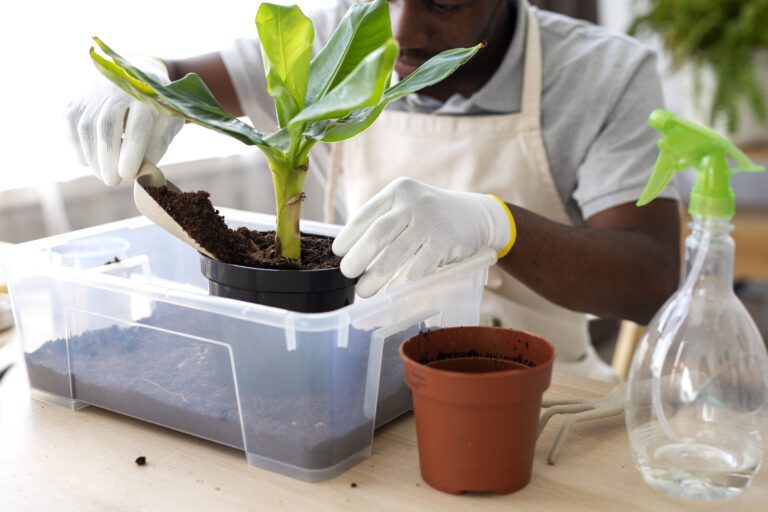
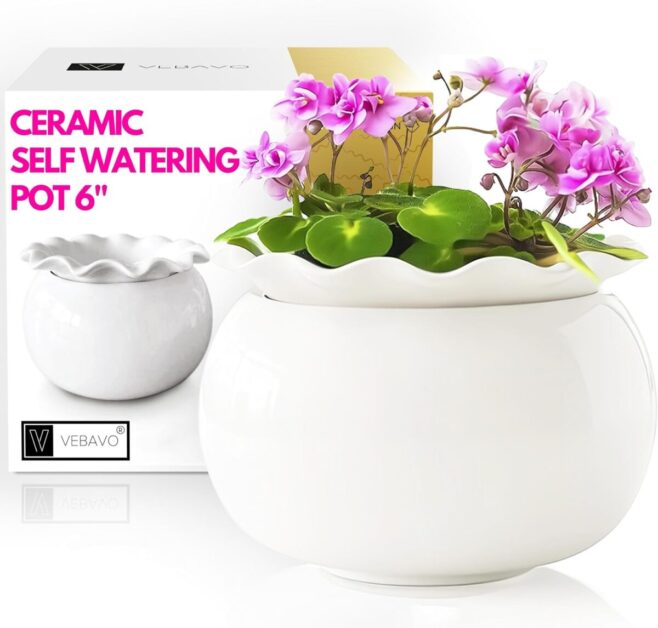
Selecting the Right Pot for African Violets
:strip_icc()/bhg-template-1000x1500-horizontal2-e0f370ac70bb462fa316d44c46e34be8.jpg)
Here’s a concise guide on selecting the right pot for your African violets:
- Size Matters: Choose a pot that is slightly larger than the root ball of your African violet. This allows some room for growth without overwhelming the plant. Avoid pots that are too spacious, as they may lead to overwatering.
- Drainage Is Key: Opt for a pot with drainage holes at the bottom. Proper drainage prevents waterlogging, which can cause root rot. African violets dislike soggy soil, so good drainage is essential.
- Material Considerations:
- Ceramic or Terracotta: These porous materials allow excess water to evaporate, maintaining optimal moisture levels. They also provide stability to prevent toppling.
Remember, happy African violets start with the right pot! 🌿🪴
I used the African Violet Pots Ceramic 6.5”W x 4.6”H and found it to be a convenient and effective self-watering planter for my African violets. The design is elegant, fitting well with my indoor decor, and the self-watering feature worked efficiently, ensuring my plants received the right amount of water without overwatering. The two-piece construction with the absorbent dolomite clay center pot and glazed porcelain outer pot was easy to assemble and use. Overall, this planter helped me maintain healthy and thriving African violets with minimal effort, making it a valuable addition to my plant care routine.
Regarding the African Violet Pots 6 Inches Ceramic, I also used it for my African violets and appreciated its simplicity and functionality. The self-watering mechanism worked effectively, providing a consistent water supply to my plants. The size was suitable for smaller African violets, although it might be too small for larger ones. Despite some minor concerns about size, I found this planter to be a practical solution for keeping my African violets well-hydrated and flourishing with minimal maintenance required.
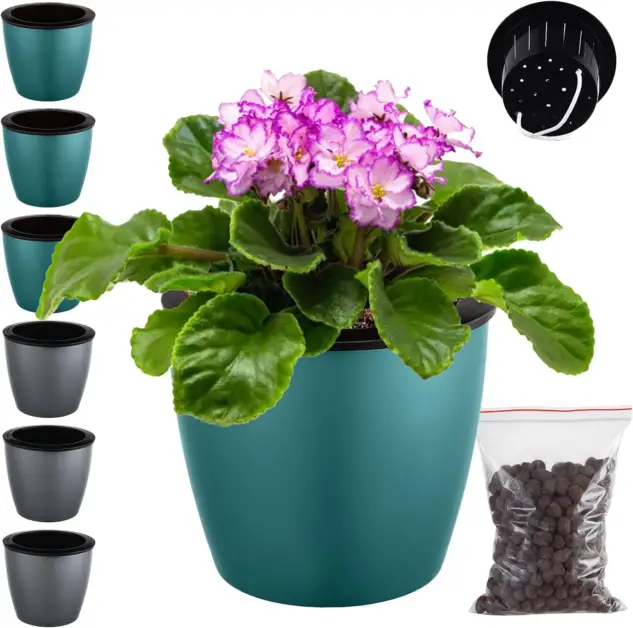
✅ Convenient Design: With their self-watering functionality, these pots reduce the frequency of watering required, allowing plant owners to focus on other tasks without worrying about plant hydration.
✅ Stylish Appearance: Made from ceramic with a glaze finish, these pots add a touch of elegance to any room decor, enhancing the aesthetic appeal of indoor spaces.
✅ Versatile Use: Suitable for various indoor plants, including African violets, orchids, and other flowering plants, these pots offer versatility in plant selection and placement.
✅ Giftable Option: Packaged in a visually appealing manner and featuring a self-watering feature, these pots make excellent gifts for plant enthusiasts or those new to indoor gardening.
✅ High-Quality Material: Crafted from durable ceramic material, these pots are built to last, providing long-term functionality and durability.
✅ Ideal Size: With a size of 6 inches in diameter and 5.5 inches in height, these pots offer ample space for plant growth while remaining compact enough for use in various indoor settings.
✅ Easy Monitoring: The transparent water level monitor allows users to easily monitor the water level, ensuring plants receive adequate hydration without overwatering.
❌ Potential Design Preferences: While the scalloped edges add visual interest to the pots, personal design preferences may vary, and some individuals may prefer simpler or alternative designs.
❌ Limited Color Options: Currently available only in white, limiting choices for those seeking pots in different colors to match their decor or plant preferences.
❌ Shipping Limitations: Depending on the location, shipping options may be limited or incur additional costs, affecting the overall purchasing experience for some customers.
❌ Potential Assembly Required: Although not explicitly mentioned, some users may prefer fully assembled pots over those requiring assembly or setup of the self-watering system.
✅ Water Indicator: The included water indicator helps users monitor the water level, preventing overwatering or underwatering of plants.
✅ Moisture Control: By using a cotton wick to absorb water, these pots help maintain optimal soil moisture levels, promoting healthier plant growth.
✅ Convenience: Users can go up to two weeks without needing to water their plants manually, making these pots ideal for individuals with busy schedules or frequent travelers.
✅ Durability: Made from premium plastic material, these pots are lightweight yet durable, ensuring long-lasting use.
✅ Versatility: Suitable for a variety of indoor plants such as African violets, devil’s ivy, spider plants, and orchids, offering versatility in plant choices.
❌ Limited Capacity: While suitable for indoor use, the capacity of these pots may not be sufficient for larger plants or outdoor gardening needs.
❌ Price: Depending on individual budgets, the price of these self-watering pots may be considered relatively high compared to traditional plant pots.
Choosing the Ideal Soil Mix for African Violets
When it comes to African violets, selecting the right soil mix is crucial for their overall health and growth.
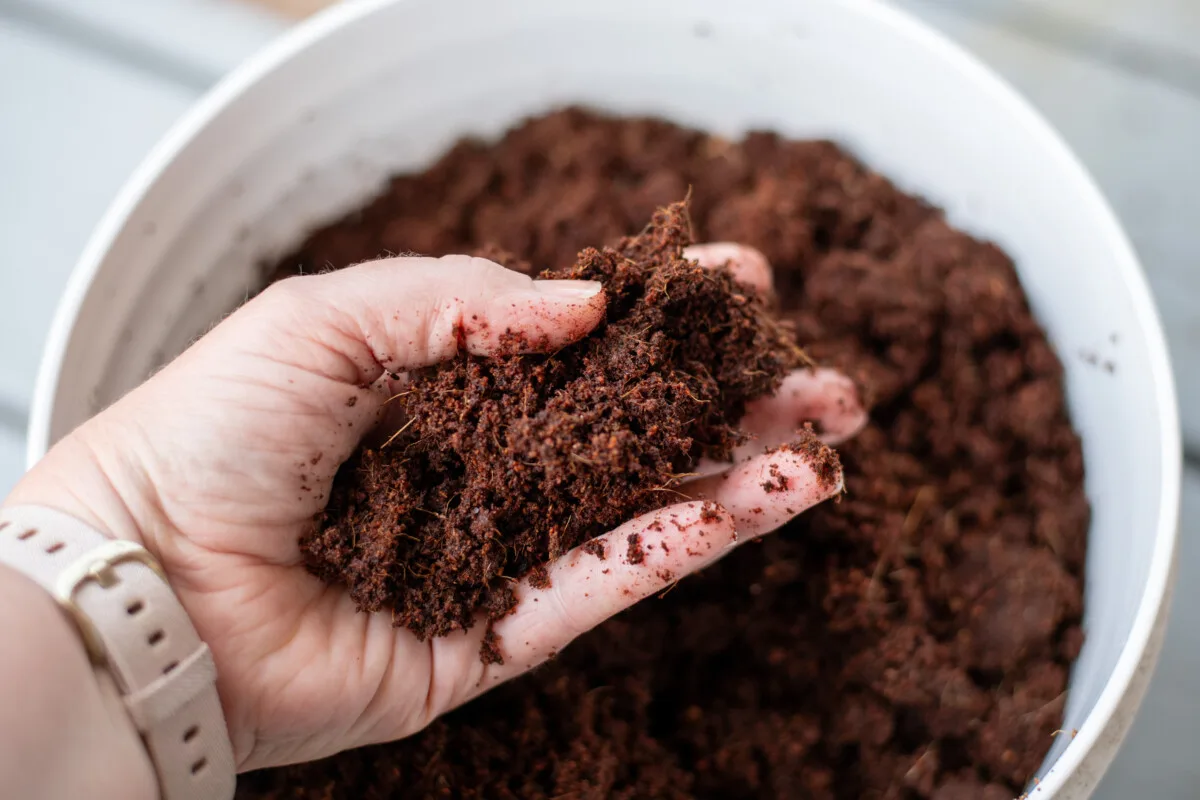
- Well-Draining Soil: African violets thrive in well-draining soil that is rich in organic matter.
- Soil Mix Components: A good soil mix typically consists of a combination of peat moss, perlite, and vermiculite. These components ensure proper aeration and moisture retention.
- Preventing Waterlogging: The mentioned components help prevent waterlogging, which can lead to root rot, a common issue for these plants.
- Adding Coarse Sand: In addition to the primary soil components, adding a small amount of coarse sand can further enhance drainage in the soil mix.
- Efficient Water Flow: The sandy texture allows excess water to flow out of the pot efficiently, reducing the risk of water-related problems.
- Delicate Roots: It’s essential to remember that African violets have delicate roots, so a well-balanced soil mix that provides both moisture and aeration is key to their success.
The following table explains about the ideal soil mix for african violets:
| Soil Component | Treatment | Effect |
|---|---|---|
| 1. Peat Moss | 40% | Retains moisture, improves aeration |
| 2. Perlite | 30% | Enhances drainage, prevents soil compaction |
| 3. Vermiculite | 20% | Improves water retention, aids root development |
| 4. Organic Matter | 10% | Provides nutrients, supports microbial activity |
Note: This quantitative table provides a recommended soil mix composition for African violets, with percentages indicating the proportion of each component.
I recently used the Fertilome 020062 1 cu. ft. Compressed Peat Moss to improve the soil quality and moisture retention in my garden. I was impressed with the results. The peat moss was easy to use and helped to loosen the soil, making it easier for my plants to grow. The compressed peat moss expanded when I added water, providing a good amount of moisture to the soil. Overall, I highly recommend this product for anyone looking to improve their garden’s soil quality and moisture retention.
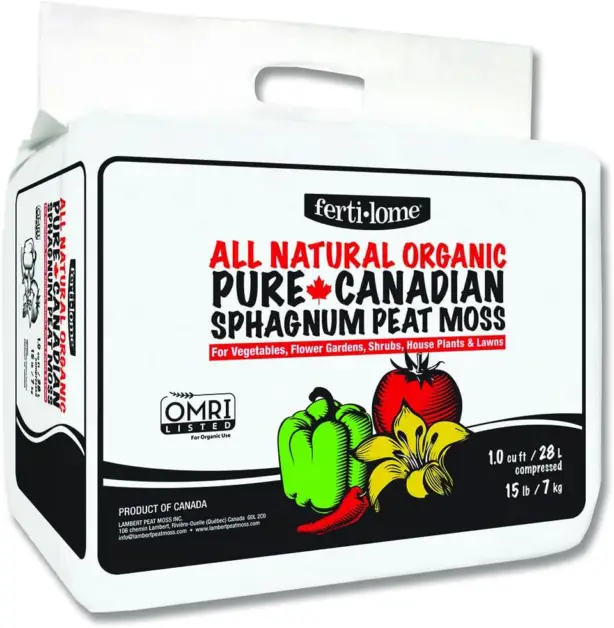
- Soil Enhancement: Sphagnum peat moss adds body to thin and sandy soils, improving soil structure and aeration.
- Moisture Retention: Peat moss helps retain moisture in the soil, reducing the frequency of watering and promoting healthy plant growth.
- Erosion Control: It helps reduce erosion and protects soil from drying out and hardening, thereby maintaining soil integrity.
- Organic Gardening: OMRI listed for organic gardening, ensuring it meets organic standards and is safe for use in organic farming practices.
- Water Conservation: Peat moss saves water by reducing evaporation from the soil surface, making it an environmentally friendly option.
- Easy to Use: Lightweight and easy to handle, making it convenient for both novice and experienced gardeners.
- Environmental Concerns: Peat moss harvesting can have environmental impacts, including habitat destruction and carbon emissions.
- Limited Nutrients: While peat moss enhances soil structure, it has limited nutrient content, requiring additional fertilization for optimal plant growth.
- Acidification: Peat moss tends to acidify soil over time, which may not be suitable for plants that prefer neutral or alkaline soil conditions.
- Cost: Depending on availability and demand, peat moss can be relatively expensive compared to other soil amendments.
- Non-Renewable Resource: Peat moss is a non-renewable resource that forms over thousands of years, raising concerns about sustainability and long-term availability.
Understanding Watering Needs for African Violets

Keep your African violets happy with the right watering technique! 🌿💧
Providing Adequate Light for African Violets
African violets thrive in bright, indirect sunlight.
Avoid direct sunlight, which can scorch their delicate leaves.
Use a sheer curtain to diffuse sunlight if needed.
Measure light intensity in lux (lumens per square meter).
Aim for 10,000 – 15,000 lux for African violets.
Too little light results in weak growth, while too much can cause leaf burn.
Provide 12 – 14 hours of light per day.
Ensure a consistent 10 – 12 hours of darkness for optimal growth and blooms.
Natural Sunlight: Place near a north- or east-facing window for indirect sunlight.
Artificial Lights: Consider fluorescent tubes (full-spectrum or warm white) as supplemental light.
Remember, happy African violets start with the right light! 🌿💡
Maintaining the Proper Temperature for African Violets
African violets, known for their vibrant blooms and delicate foliage, require specific environmental conditions to thrive.
- Daytime Comfort: Keep the temperature between 65-75°F (18-24°C) during the day. African violets love a cozy environment.
- Cool Nights: At night, allow a slightly cooler range. A drop to 60-65°F (15-18°C) is ideal.
- Avoid Extremes:
- No Drafts: Place them away from chilly drafts or sudden temperature changes.
- Not Too Hot: Avoid direct heat from radiators or heaters.
- Winter Warmth:
- In colder climates, use a low-setting heating mat to provide gentle warmth.
- Monitor with a thermometer to maintain consistency.
Remember, happy African violets thrive in a Goldilocks zone—just right! 🌸🌡️
Feeding and Fertilizing African Violets Regularly
Feeding and fertilizing African violets regularly is crucial to their overall health and vibrant blooming. These delicate plants have specific nutrient requirements that must be met to ensure their optimal growth. Be mindful not to overfeed, as excess fertilizer can result in stunted growth and fewer blooms. Always water your African violets before fertilizing to prevent root damage, and avoid getting fertilizer on the leaves to prevent burning.
Remember to adjust your feeding schedule during the dormant period in fall and winter, as African violets require less frequent fertilization during this time.
Pruning and Grooming African Violets for Optimal Growth

Identifying and Treating Common Pests for African Violets

Common pests can wreak havoc on your African violets if left unchecked, affecting their growth and overall health.
Regularly inspect the leaves and stems of your plants for any signs of infestation, and promptly isolate and treat affected plants to prevent the spread of pests to other specimens in your collection. Remember, early intervention is key to keeping your African violets healthy and thriving.
The following table explains about the common pests for african violets:
| Pest | Identification | Treatment | Effect |
|---|---|---|---|
| 1. Aphids | – Small, soft-bodied insects on leaves. | – Insecticidal soap or neem oil spray. | – Yellowing and curling of leaves. |
| – Sticky honeydew residue on foliage. | – Repeat treatment every 7-10 days as needed. | – Stunted growth and distorted flowers. | |
| 2. Spider Mites | – Fine webbing on leaves and stems. | – Spray with water to dislodge mites. | – Leaf stippling and bronzing. |
| – Tiny, moving dots on undersides of leaves. | – Apply insecticidal soap or neem oil. | – Weakened plant and leaf drop. | |
| 3. Mealybugs | – White, cottony masses on leaf axils. | – Remove with cotton swab dipped in alcohol. | – Reduced vigor and distorted growth. |
| – Sucking sap from plant tissues. | – Apply insecticidal soap or neem oil spray. | – Honeydew secretion and sooty mold. | |
| 4. Thrips | – Tiny, slender insects with fringed wings. | – Introduce predatory mites or insects. | – Silvering of leaves and flower damage. |
| – Feeding causes silvery streaks on leaves. | – Use sticky traps to monitor and capture thrips. | – Distorted growth and reduced flowering. | |
| 5. Fungus Gnats | – Small, dark flies hovering around soil. | – Allow soil to dry between watering. | – Larvae feed on roots, leading to wilting. |
| – Larvae in soil feed on organic matter. | – Apply beneficial nematodes to control larvae. | – Yellowing and stunted growth. |
Preventing Diseases in African Violets
When it comes to African violets, preventing diseases is crucial to ensure the continued health and beauty of these delicate plants.
- Avoid overwatering: One of the key ways to prevent diseases in African violets is to avoid overwatering. Excessive moisture can lead to root rot and fungal issues.
- Water sparingly: Water African violets sparingly, allowing the soil to dry slightly between waterings. Ensure pots have proper drainage to prevent waterlogging.
- Ensure proper drainage: Ensure pots have adequate drainage holes to allow excess water to escape, preventing water accumulation at the roots.
- Maintain good air circulation: Good air circulation is crucial for preventing diseases in African violets. Ensure plants are placed in a well-ventilated area with plenty of airflow.
- Prevent mold and mildew: Proper air circulation helps reduce the risk of mold and mildew formation on African violets’ leaves. Avoid crowding plants together and provide space for air to circulate freely.
- Avoid overcrowding: Avoid overcrowding African violets with other plants, as this can hinder airflow and create conditions favorable for disease development.
- Monitor for signs of disease: Regularly inspect African violets for signs of disease, such as yellowing leaves, wilting, or mold growth. Address any issues promptly to prevent further spread of disease.
By being mindful of watering practices and ensuring adequate air circulation, you can take proactive steps to prevent common diseases that may affect African violets.
Transplanting African Violets when Necessary

Repot your African violet when:The roots have outgrown the current container.
The soil is compacted or depleted.
It’s been about a year since the last repotting.
Carefully remove the African violet from its current pot.
Be gentle to avoid damaging the roots.
Select a new pot that is slightly larger than the current one.
Avoid overpotting to prevent waterlogging and root rot.
Ensure the new pot has drainage holes at the bottom.
Good drainage prevents water accumulation around the roots.
Place the African violet in the new pot with fresh potting mix.
Gently pat down the soil around the roots.
Monitor watering and light requirements as the plant adjusts.
Be patient and observe its growth.
Remember, a happy African violet starts with a comfortable home! 🌿🏡
Propagating African Violets through Leaf Cuttings
When propagating African violets through leaf cuttings, it is essential to select healthy leaves that are free from any signs of disease or damage. To propagate African Violets through leaf cuttings, follow these steps:
Choose a Healthy Leaf:
Prepare the Leaf Cutting:
Planting the Cutting:
Provide Proper Conditions:
Monitor Growth:
By following these steps, you can successfully propagate African Violets through leaf cuttings and expand your collection of these beautiful plants.
Creating Humidity for African Violets
To create the optimal growing environment for African Violets, it is essential to consider the humidity levels in their surroundings.

- Group Plants Together: Place your African Violets close together to create a favorable microclimate, which can increase humidity by up to 15%.
- Use a Humidity Tray: Place your African Violets on a tray filled with pebbles and water, ensuring the root base is above the water.
- Avoid Misting: Misting can lead to crown rot, so it’s best to avoid this method.
- Use a Humidifier: A humidifier can help maintain the desired humidity level, especially during the winter months.
- Monitor Humidity: Use a hygrometer to measure the humidity around your African Violets and adjust the environment as needed.
Maintaining a humidity level of 50-60% is crucial for the health of African Violets, as it helps prevent buds from failing to open, slow plant growth, and loss of foliage luster.
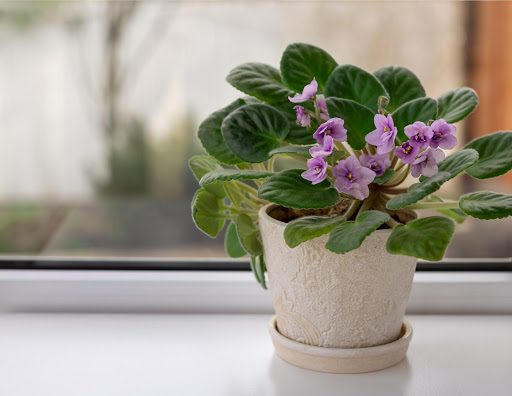
Choosing the Right Location for African Violets in Your Home
When selecting the right location for your African violets in your home, it’s essential to consider their specific light requirements.
- Light: African violets thrive in bright, indirect light. Placing them near a window with sheer curtains or on a well-lit shelf can ensure they receive adequate light without being exposed to direct sunlight, which can scorch their delicate leaves.
- Consistent Light Source: Ensuring a consistent light source will promote healthy growth and vibrant blooms in your African violets.
- Temperature: Maintaining a stable temperature around your African violets is crucial for their well-being. These plants prefer temperatures between 65-75°F (18-24°C) during the day and slightly cooler temperatures at night.
- Avoid Drafts, Vents, or Heat Sources: Avoid placing them near drafts, vents, or heat sources that can cause fluctuations in temperature, as African violets are sensitive to these changes and may struggle to thrive.
Remember, each plant is unique and may require slight adjustments to these guidelines based on its specific needs and environment. Happy gardening! 🌱
Rotating African Violets for Balanced Growth
To ensure balanced growth and uniform exposure to light, it is essential to rotate your African violets regularly.
- Rotate your plants: Begin by rotating your African violets every week or so to prevent them from leaning towards one direction. This promotes even development of leaves and blooms.
- Prevent overcrowding: Rotating the plants helps prevent overcrowding of foliage on one side, ensuring each part receives adequate light for photosynthesis and growth.
- Ensure balanced exposure to light: By changing the orientation of the plants regularly, you can optimize their exposure to light, which is crucial for healthy growth and flowering.
- Prevent weak stems: Rotating African violets can help prevent the formation of weak stems by ensuring uniform development and distribution of foliage.
- Promote symmetry: Regular rotation encourages a more symmetrical and aesthetically pleasing appearance, enhancing the overall beauty of the plants.
- Incorporate into routine: Make rotating your African violets a regular part of your plant care routine to maintain balanced growth and overall health.
- Enjoy vibrant flowers: By consistently changing their orientation, you can promote a more vigorous and vibrant display of flowers, enhancing the beauty of your home.
Troubleshooting Common Issues with African Violets
If you notice your African violets starting to develop yellowing leaves, it could be a sign of overwatering.
- Ensure proper drainage in your pots to prevent waterlogging, which can lead to root rot.
- On the other hand, if the leaves are turning brown at the edges, it may indicate low humidity levels.
- Consider misting the leaves or using a humidity tray to create a more suitable environment for your plants.
- Another common issue with African violets is the presence of pests such as spider mites or mealybugs.
- These tiny invaders can wreak havoc on your plants if not addressed promptly.
- Try using neem oil or insecticidal soap to combat these pests while minimizing the risk of harming your delicate violets.
Ensuring Longevity and Continued Beauty of African Violets
To ensure the longevity and continued beauty of your African violets, it is crucial to establish a consistent care routine tailored to their specific needs.
- Regular inspection: Begin by regularly inspecting your African violets for signs of pests, diseases, or nutrient deficiencies. This proactive approach allows you to catch and address issues promptly, safeguarding their health and appearance.
- Watering schedule: Establish a proper watering schedule tailored to the moisture requirements of African violets. Overwatering can lead to root rot, while underwatering can cause dehydration and wilting.
- Understand moisture needs: Understand the specific moisture needs of African violets, which thrive in moderately moist soil. Adjust your watering frequency accordingly to maintain optimal moisture levels.
- Prevent water stagnation: Ensure good drainage in the pots to prevent water stagnation in the soil, which can lead to root rot and other moisture-related issues.
- Monitor soil moisture: Regularly check the moisture level of the soil by inserting your finger into the top layer. Water only when the top inch of soil feels dry to the touch.
- Provide good air circulation: Ensure good air circulation around the African violets by placing them in a well-ventilated area. This helps prevent issues such as mold and mildew formation.
- Address watering mistakes: If you accidentally overwater or underwater your African violets, adjust your watering practices accordingly to prevent further damage and promote recovery.
- Maintain plant hygiene: Keep the foliage clean and free from dust by gently wiping the leaves with a damp cloth. This helps maintain plant health and promotes optimal photosynthesis.
Watch video for more information:
FAQ
How often should I rotate my African violets for balanced growth?
It is recommended to rotate your African violets every 1-2 weeks to ensure even exposure to light and prevent one side from becoming leggy.
Can African violets be grown outdoors?
African violets are best grown indoors where they can be protected from extreme temperatures, direct sunlight, and pests. However, they can be grown outdoors in a sheltered area with filtered sunlight if the climate is suitable.
What is the best way to create humidity for African violets?
You can create humidity for African violets by placing a shallow tray filled with water and pebbles near the plants. As the water evaporates, it will increase the humidity around the violets.
How can I prevent diseases in my African violets?
To prevent diseases in African violets, make sure to avoid overwatering, provide adequate air circulation, and keep the leaves dry. Using a well-draining soil mix and sterilizing pots and tools can also help prevent diseases.
When should I transplant my African violets?
African violets should be transplanted when they outgrow their current pot or when the soil becomes compacted. This is typically done every 1-2 years to ensure continued growth and health.
What is the best way to propagate African violets through leaf cuttings?
To propagate African violets through leaf cuttings, select a healthy leaf from the plant and place it in a small pot with moist soil. Keep the soil consistently moist and provide indirect light until new growth appears.
What are some common issues to troubleshoot with African violets?
Common issues to troubleshoot with African violets include yellowing leaves, brown spots, pests like aphids or spider mites, and leggy growth. Addressing these issues promptly can help maintain the health and beauty of your African violets.

Studied Agricultural Engineering-Plant Protection at University of California, Davis.
Head of Content writing team at Southelmontehydroponics.com