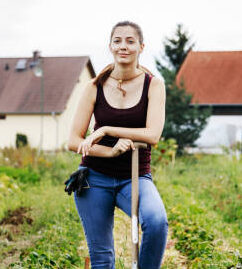
Harvesting Garlic: A Guide to When and How
Table of Contents
Selecting Garlic for Harvest: Discover the factors to consider when selecting which garlic bulbs to harvest and save for future planting.
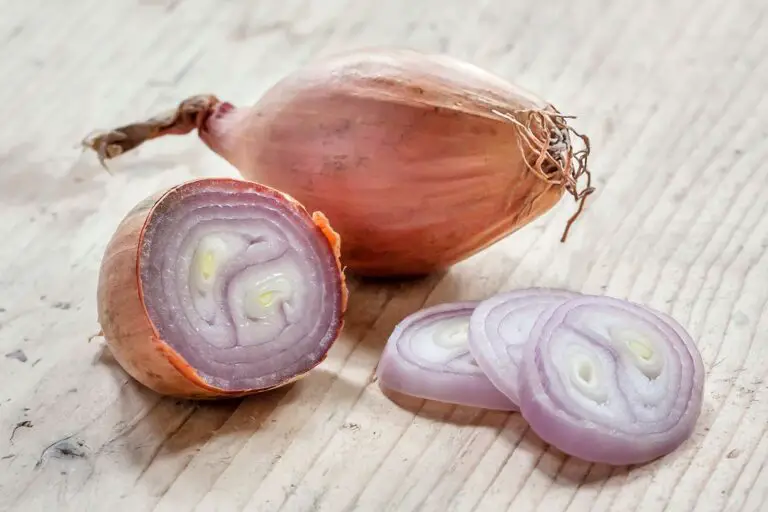
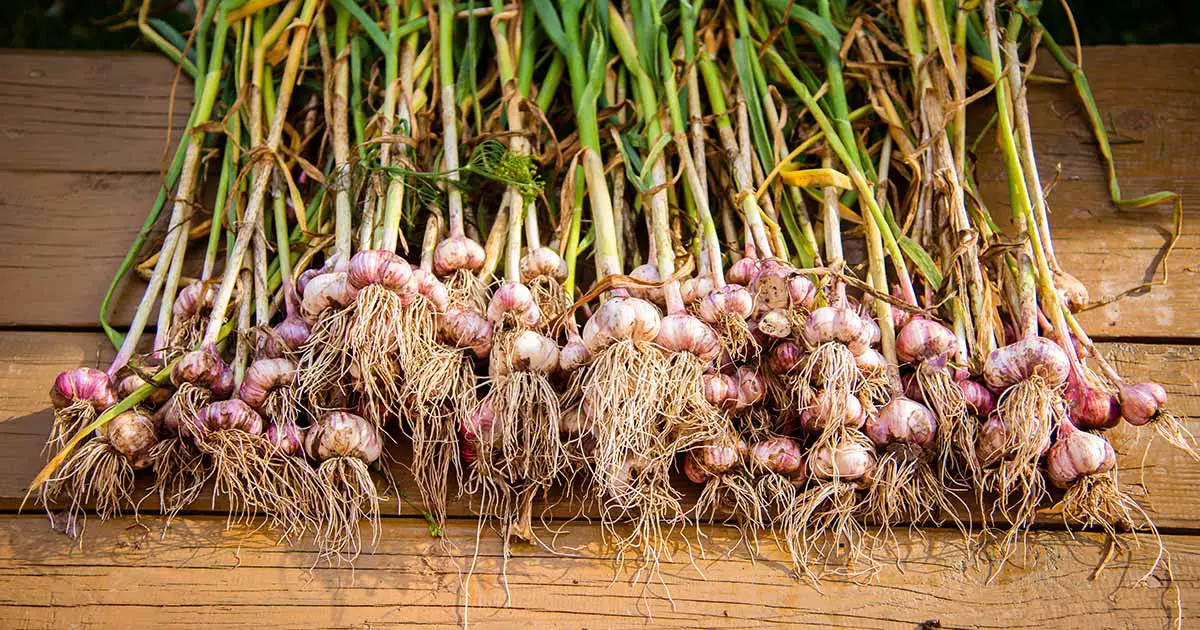
When it comes to selecting garlic bulbs for harvest, there are several important factors to consider. First and foremost, you want to choose bulbs that have reached maturity. Garlic bulbs typically take around 6 to 8 months to mature, and harvesting them at the right time is crucial for optimal flavor and storage potential.
One key indicator of maturity is the appearance of the garlic foliage. Once the leaves begin to turn yellow and dry out, it’s a sign that the bulbs are ready to be harvested. Another factor to consider is bulb size. Generally, larger bulbs have more cloves and are preferred for planting and culinary use. However, it’s important to note that bulb size can vary depending on the garlic variety, so keep that in mind when making your selection.
In addition, examining the condition of the outer skin can also provide valuable insights into the quality of the bulbs. Look for bulbs with well-formed, clean, and intact skins. Bulbs with damaged or shriveled skins may not store well and may be more susceptible to disease or rot.
By taking these factors into account, you can ensure that you are selecting garlic bulbs for harvest that are mature, healthy, and suitable for future planting and culinary use.
Cleaning and Trimming Garlic: Understand the proper techniques for cleaning and trimming garlic bulbs after harvesting.
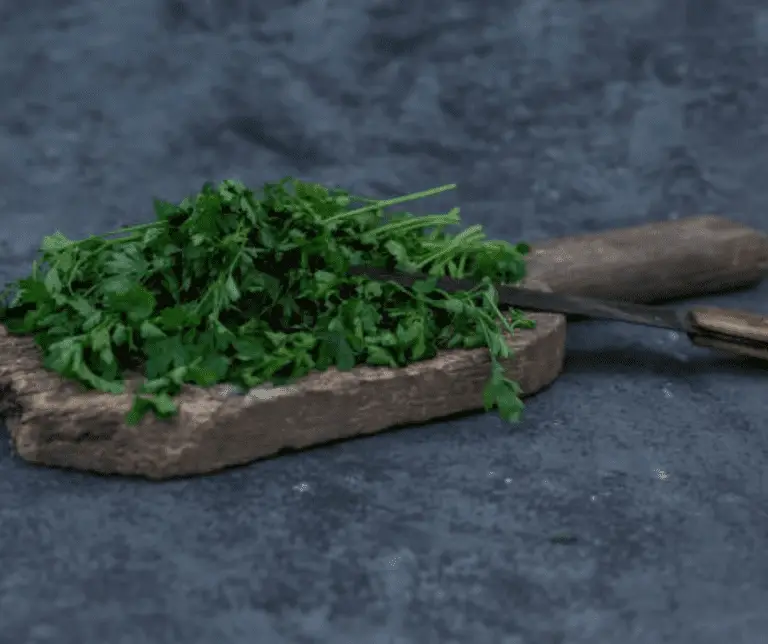
After harvesting your garlic bulbs, it is important to properly clean and trim them to ensure their optimal quality and longevity. Cleaning garlic is a simple yet crucial step in the post-harvest process. Begin by gently removing any excess soil or debris attached to the bulbs. This can be done by carefully brushing the garlic bulbs or using a soft cloth to wipe away dirt. Avoid using water to clean the garlic, as excessive moisture can lead to rotting during storage. Once the exterior is clean, it is time to move on to trimming.
Trimming garlic involves removing the excess roots and leaves from the bulb. Start by snipping off the roots using sharp, clean pruning shears. Trim the roots as close to the bulb as possible, being careful not to damage the basal plate from which the roots emerge. Next, cut off the leaves, also known as the neck, leaving approximately one inch of the stem attached to the bulb. Removing the leaves helps prevent moisture loss and the growth of mold or bacteria during storage. Remember, it is crucial to handle the garlic bulbs gently during the trimming process to avoid bruising or damaging them. Following these proper techniques for cleaning and trimming garlic will help preserve its freshness and flavor for months to come.
Certainly! Here’s a table summarizing the steps for cleaning and trimming garlic bulbs after harvesting:
| Step | Description |
|---|---|
| 1 | Harvesting: Lift garlic bulbs gently from the soil when leaves turn yellow and dry down. |
| 2 | Cleaning: Remove soil by brushing or shaking off dirt. Avoid washing to prevent fungal growth. |
| 3 | Trimming Tops: Cut garlic stalks to about 5 inches above bulbs. Prepare for curing. |
| 4 | Curing: Dry bulbs in a well-ventilated area for 2-4 weeks. Trim roots and tops. |
| 5 | Storage: Inspect, remove damaged cloves, and store in a cool, dark place with good airflow. |
Storing Garlic: Learn the best practices for storing garlic bulbs to maintain their freshness and prevent spoilage.
Proper storage techniques are essential to maintain the freshness and prevent spoilage of garlic bulbs. When storing garlic, it is crucial to provide the ideal environment to extend its shelf life. The two key factors to consider are temperature and humidity.
Firstly, the temperature should be cool and consistent, ideally between 50 and 60°F (10 and 15°C). Avoid storing garlic in areas that are too warm, such as near stoves or direct sunlight, as this can degrade its quality. It is also important to note that storing garlic in the refrigerator can result in premature sprouting and a loss of flavor.
Secondly, maintaining the right level of humidity is vital. Garlic prefers a humidity level around 60-70%. Too much moisture may lead to mold growth, while a lack of humidity can cause the cloves to become dry and shriveled. To achieve the desired humidity, store the garlic bulbs in a well-ventilated container, such as a breathable mesh bag or wooden crate.
Additionally, it is essential to inspect the garlic regularly during storage. Remove any cloves that show signs of mold, deterioration, or sprouting. This will help prevent the spread of these issues to the rest of the stored bulbs. By following these best practices for storing garlic, you can prolong its freshness and enjoy its robust flavor for an extended period.
Garlic Harvest Troubleshooting: Address common issues
Garlic harvesting can be a rewarding experience, but it’s not without its challenges. Understanding and addressing common issues that may arise during the garlic harvest can help ensure a successful outcome. One common problem that gardeners may encounter is premature sprouting. If you notice green shoots emerging from your harvested garlic bulbs, it may indicate that they were harvested too late. To prevent this issue, it is important to closely monitor the garlic plants and harvest them at the right time, typically when the foliage begins to die back and turn yellow.
Another issue that may arise during garlic harvest is bulb bruising or damage. Garlic bulbs are delicate and can be easily bruised if mishandled during harvesting or post-harvest handling. Bruised bulbs not only affect the appearance of the garlic but can also lead to increased rot and reduced storage life. To minimize this problem, handle the harvested garlic bulbs with care, avoiding any unnecessary rough handling or dropping. It is also advisable to trim the roots and excess foliage prior to storing the garlic to reduce the risk of damage. By paying attention to these considerations, you can ensure a successful garlic harvest and maximize the shelf life of your crop.
for more information watch the below video.
How do I know which garlic bulbs to select for harvest?
When selecting garlic bulbs for harvest, consider factors such as size, firmness, and overall health. Choose bulbs that are large, plump, and free from any signs of damage or disease.
What is the proper technique for cleaning and trimming garlic bulbs after harvesting?
After harvesting, gently brush off any loose dirt or debris from the garlic bulbs. Trim off the roots and any excess leafy portions, leaving about an inch of stem attached to the bulb.
How should I store the harvested garlic bulbs to maintain their freshness?
To store garlic bulbs, it is best to keep them in a cool, dry, and well-ventilated area. Avoid storing them in the refrigerator, as the moisture can cause them to sprout or become moldy.
What are some common issues that can arise during garlic harvest?
Common issues during garlic harvest include bulbs that are smaller than expected, bulbs with damaged or discolored cloves, and bulbs that may have been affected by pests or diseases.
Nicole Burke is a dynamic writer at SouthElMonteHydroponics, fueled by her passion for horticulture and environmental sustainability. Armed with a degree in Environmental Science from a renowned institution, Nicole’s expertise lies in hydroponic gardening, organic farming, and biodiversity conservation. Her insatiable curiosity and love for nature drive her to explore innovative techniques in hydroponics, seeking to revolutionize the way we grow crops in urban environments. Nicole’s writing reflects her deep commitment to promoting eco-conscious practices and fostering a deeper connection between humans and the natural world. Through her engaging storytelling, she inspires others to embrace sustainable living and harness the power of hydroponics for a greener future.