How to Grow Okra: A Guide to Growing These Nutritious and Delicious Pods
Table of Contents
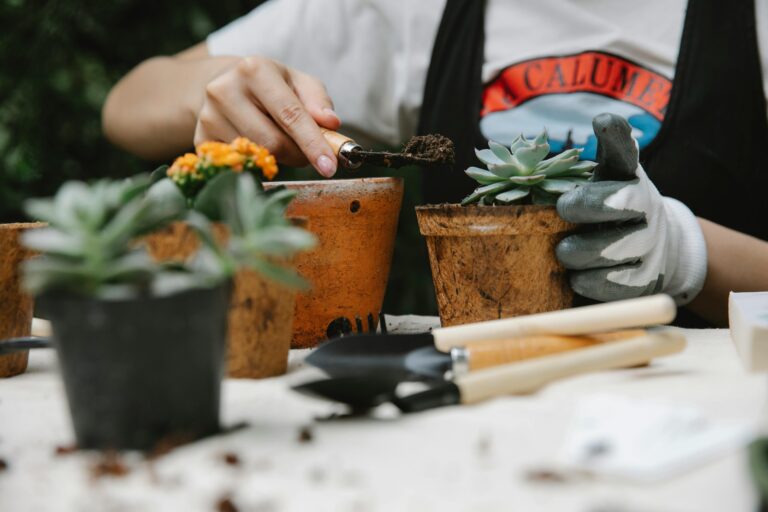
Soil Preparation: Creating the Ideal Growing Environment
Soil preparation plays a crucial role in creating the ideal growing environment for okra plants. By properly preparing the soil before planting, you can ensure that your okra plants have the necessary nutrients, moisture retention, and drainage to thrive.
The first step in soil preparation is to test the pH level of your soil. Okra thrives in slightly acidic soil, with a pH range of 6.0 to 6.8. If your soil’s pH is outside this range, you may need to make amendments to bring it within the ideal range. Adding organic matter, such as compost or well-rotted manure, can help improve soil structure and fertility. Additionally, incorporating a balanced fertilizer that contains nitrogen, phosphorus, and potassium will provide essential nutrients for healthy okra growth.
Once the pH and nutrient levels are adjusted, it’s important to ensure proper soil moisture. Okra plants prefer moist, well-draining soil. To improve drainage, consider incorporating organic matter into heavy clay soils or adding sand or perlite for better aeration. Avoid overwatering, as excessive moisture can lead to root rot and other diseases. Regularly monitor the soil moisture level and adjust your watering schedule accordingly.
By following these soil preparation techniques, you can create an ideal growing environment for your okra plants, setting them up for healthy growth and a bountiful harvest.
Choosing the Right Okra Variety: Selecting the Best Seeds for Your Garden
When it comes to choosing the right okra variety for your garden, it’s essential to consider several factors to ensure a successful harvest. The first consideration is the climate and growing conditions in your area. Okra thrives in warm temperatures, so selecting a variety that is well-suited to your climate will increase your chances of a bountiful crop. For example, if you live in a cooler region, you may want to choose a variety that has a shorter growing season or is more tolerant of lower temperatures. On the other hand, if you reside in a hot and humid environment, look for varieties that are heat-resistant and have good disease resistance.
Another crucial aspect to consider is the desired size and flavor of the okra pods. Okra comes in different sizes, ranging from small, tender pods to larger, more fibrous ones. The smaller pods are popular for their tenderness and are often preferred for fresh consumption or pickling. On the other hand, larger pods are great for use in soups, stews, and other cooked dishes. Additionally, the flavor profile can vary among different okra varieties, with some having a sweeter taste and others being slightly more bitter. Consider your culinary preferences and intended use for the okra when selecting a variety that will best suit your needs. By taking these factors into account, you can make an informed decision when selecting the best okra seeds for your garden, setting yourself up for a successful and rewarding growing experience.
Planting Okra Seeds: Proper Techniques and Timing
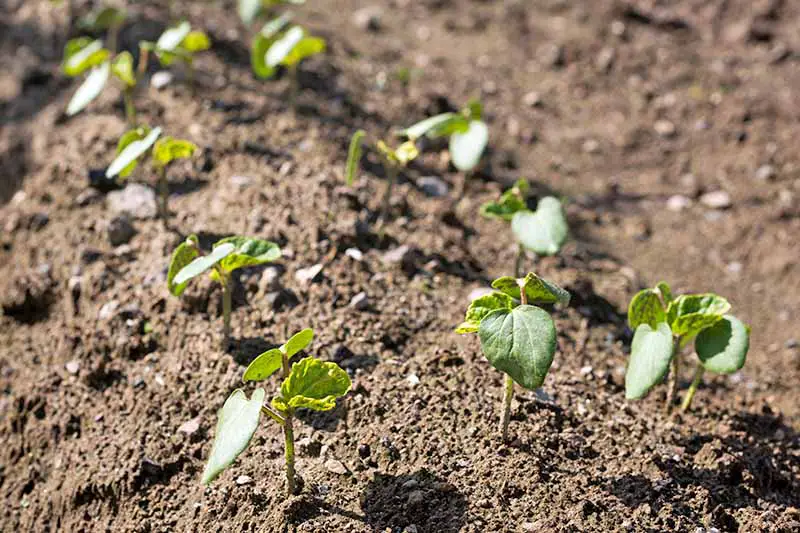
Properly planting okra seeds is essential to ensure successful growth and a bountiful harvest. Before you begin, it is important to consider the optimal timing for planting. Okra thrives in warm weather, so it is best to plant seeds after the danger of frost has passed and the soil temperature has reached at least 65°F (18°C). In most regions, this occurs in late spring or early summer.
To get started, prepare the soil by loosening it with a garden fork or tiller. Okra prefers well-drained soil with a pH level between 6.0 and 6.8. Incorporate organic matter, such as compost or well-rotted manure, into the soil to enhance its fertility and moisture-holding capacity. It is also advisable to perform a soil test to determine nutrient deficiencies and make appropriate amendments.
When planting okra seeds, it is important to space them adequately to allow for proper growth. Sow the seeds about 1 inch (2.5 cm) deep and space them 12 to 18 inches (30 to 45 cm) apart, leaving at least 2 to 3 feet (60 to 90 cm) between rows. This spacing ensures sufficient air circulation and reduces the risk of disease.
Once the seeds are planted, lightly water the soil to provide moisture for germination. Keep the soil consistently moist but not waterlogged throughout the germination period, which typically takes around 7 to 10 days. Regularly check the moisture levels and adjust watering accordingly.
By following these proper planting techniques and timing, you will give your okra seeds the best chance to germinate and grow into healthy plants. In the next section, we will explore the sunlight requirements that are vital for the successful cultivation of okra.
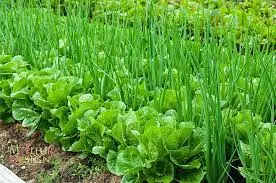
Providing Adequate Sunlight: Understanding the Sun Requirements for Okra
Okra is a sun-loving crop that thrives in warm and sunny environments. Providing adequate sunlight is crucial for the successful growth and development of okra plants. Ideally, okra requires a minimum of 6 to 8 hours of direct sunlight daily to reach its full potential.
Sunlight plays an essential role in the photosynthesis process, where plants convert sunlight into energy. The more sunlight okra plants receive, the more energy they produce, resulting in robust growth and higher yields. Insufficient sunlight can lead to weak and spindly growth, reduced fruit production, and increased susceptibility to pests and diseases.
To ensure that your okra plants receive the required amount of sunlight, choose a location in your garden that is free from obstructions like tall trees or buildings that may cast shadows. Position your plants in an area that receives maximum sun exposure throughout the day, especially during the morning and afternoon hours. Additionally, regular monitoring of the sunlight patterns in your garden can help you make necessary adjustments to ensure optimal light conditions for your okra plants.
• Okra requires a minimum of 6 to 8 hours of direct sunlight daily for optimal growth and development.
• Sunlight is essential for the photosynthesis process, where plants convert sunlight into energy.
• More sunlight results in increased energy production, leading to robust growth and higher yields.
• Insufficient sunlight can cause weak growth, reduced fruit production, and increased vulnerability to pests and diseases.
• Choose a location in your garden that is free from obstructions like tall trees or buildings that may cast shadows on the okra plants.
• Position your plants in an area that receives maximum sun exposure throughout the day, especially during morning and afternoon hours.
• Regularly monitor the sunlight patterns in your garden to make necessary adjustments for optimal light conditions.
Watering Okra Plants: Essential Tips for Proper Irrigation
Proper irrigation is crucial for the healthy growth and productivity of okra plants. Understanding the water requirements and implementing effective watering techniques are key to ensuring optimal results in your garden. Okra plants thrive in well-drained soil, and it is essential to provide them with consistent moisture without overwatering.
- Deep Watering: Ensure the water reaches the roots by watering deeply, promoting strong root development.
- Consistent Moisture: Keep the soil consistently moist, especially during hot periods, to prevent stress on okra plants.
- Morning Watering: Water in the morning to allow foliage to dry, reducing the risk of diseases caused by prolonged moisture.
- Mulching: Apply a layer of mulch around the plants to retain soil moisture, suppress weeds, and regulate temperature.
- Drip Irrigation: Consider using drip irrigation for efficient water delivery, preventing water on foliage and reducing evaporation.
- Avoid Overhead Watering: Minimize overhead watering to prevent fungal diseases and ensure water goes directly to the soil.
- Watering Frequency: Adjust watering frequency based on weather conditions; more during dry spells, less during rainy periods.
- Soil Drainage: Ensure well-draining soil to prevent waterlogged conditions, which can lead to root rot.
- Monitor Soil Moisture: Regularly check soil moisture levels and adjust watering accordingly, preventing both drought and waterlogging.
- Established Plant Needs: Once established, reduce watering frequency but maintain consistent moisture for optimal okra growth.
When it comes to watering your okra plants, it is important to strike a balance. Overwatering can lead to root rot and other fungal diseases, while underwatering can stunt their growth and reduce yields. The frequency of watering will depend on various factors such as climate, soil type, and stage of growth. Generally, a deep watering once a week is sufficient, ensuring that the soil is moist at least 6 inches deep.
To determine when to water, it is advisable to monitor the moisture level of the soil. Inserting your finger or a moisture meter into the soil can help gauge its moisture content. If the top inch of soil feels dry, it’s time to water. Additionally, inspecting the plants for signs of wilting can also indicate the need for watering. However, do note that okra plants have deep taproots, which allow them to tolerate some temporary wilting without significant harm.
Fertilizing Okra: Nutrient Requirements and Application Methods
Nutrient requirements and proper application methods are crucial for successful growth and development of okra plants. Okra is known for having relatively high nutrient demands, especially for nitrogen and potassium. Adequate nutrient levels are essential to promote healthy foliage growth, flower production, and fruit development.
To meet the nutrient requirements of okra, it is recommended to conduct a soil test before planting. This will provide you with valuable information about the current nutrient levels in your soil, allowing you to make informed decisions about fertilization. Based on the soil test results, you can determine the specific nutrient deficiencies and adjust your fertilizer accordingly.
When it comes to fertilizing okra plants, a balanced fertilizer that contains nitrogen (N), phosphorus (P), and potassium (K) is commonly used. For example, a 10-10-10 or 14-14-14 fertilizer can be an appropriate choice. It is important to follow the application rates recommended by your local agricultural extension office or consult with a gardening expert to avoid over-fertilization, which can lead to nutrient imbalances or even plant damage. Additionally, remember to water your plants adequately after applying the fertilizer to ensure proper uptake and distribution of nutrients.
By providing the necessary nutrients in the right amounts and following proper application methods, you can enhance the quality and yield of your okra plants. Regular monitoring of soil nutrient levels and adjustment of fertilization practices as needed will contribute to the overall health and productivity of your okra garden. So, make sure to nourish your okra plants appropriately, and they will reward you with an abundance of delicious pods.
Managing Pests and Diseases: Effective Strategies for Protecting Your Okra Plants
Effective pest and disease management is crucial for maintaining the health and productivity of your okra plants. Pests such as aphids, caterpillars, and flea beetles can cause significant damage to the foliage and pods, while diseases like powdery mildew and root rot can weaken the plants and hinder their growth.
To protect your okra plants from pests, it’s important to implement preventive measures. Regularly inspect your plants for any signs of infestation and take prompt action if you spot any. You can handpick larger pests like caterpillars and beetles or use organic insecticides to control their population. Additionally, planting companion plants like marigolds and garlic can help repel certain insects and deter infestations.
When it comes to managing diseases, maintaining proper hygiene is key. Remove any infected plant material and ensure good air circulation around your okra plants. Avoid overwatering, as excess moisture can create favorable conditions for disease development. If necessary, apply organic fungicides or bactericides to combat common diseases like powdery mildew or bacterial blight.
By implementing these effective strategies, you can protect your okra plants from pests and diseases, ensuring a healthy and bountiful harvest. Remember to stay vigilant, regularly monitor your plants, and take action as soon as you detect any signs of trouble. With proper care and attention, your okra plants will thrive and provide you with delicious pods to enjoy.
Pruning Okra: Techniques for Maintaining Plant Health and Productivity
Pruning is an indispensable practice for maintaining the health and productivity of okra plants. By selectively removing certain parts of the plant, gardeners can encourage better airflow, improve sunlight penetration, and prevent the spread of diseases. Regular pruning not only promotes overall plant vigor but also helps shape the plant for optimal growth and pod development.
| Pruning Technique | Description |
|---|---|
| Remove Lateral Shoots | Eliminate lateral shoots at the base to encourage upward growth and improve air circulation. |
| Trimming Lower Leaves | Trim lower leaves that touch the ground to prevent soil-borne diseases and improve hygiene. |
| Cutting Diseased Parts | Promptly cut and dispose of any diseased or damaged parts to prevent the spread of infections. |
| Regular Harvesting | Harvest okra pods regularly to stimulate continuous production and prevent energy diversion. |
| Prune Overcrowded Areas | Thin out overcrowded areas to allow better sunlight penetration and reduce nutrient competition. |
| Top Pruning | Control height by topping the main stem to encourage lateral branching and manage plant size. |
| Remove Yellowing Leaves | Eliminate yellowing or diseased leaves promptly to maintain plant vigor and prevent spread. |
| Encourage Bushy Growth | Pinch back growing tips when young to encourage bushier growth and development of lateral branches. |
| Shape the Plant | Prune to shape the plant, achieving a balanced and open canopy for enhanced sunlight exposure. |
| Sterilize Tools | Always sterilize pruning tools to prevent the transmission of diseases between plants. |
When it comes to pruning okra, there are a few key techniques that can be employed. One common method is known as “topping,” which involves cutting off the top of the main stem when the plant reaches a height of around 2 feet. This encourages the plant to branch out and develop multiple lateral stems, leading to increased pod production. Topping should be done early in the growing season to ensure adequate time for new lateral growth to occur.
In addition to topping, it is also important to regularly remove any damaged, diseased, or dead leaves and stems. These can serve as entry points for pests and pathogens, which can severely impact the health of your okra plants. Use clean, sharp pruners to make clean cuts, and be sure to sanitize your tools between cuts to prevent the spread of any potential diseases.
Remember, the goal of pruning okra is to maintain a balanced plant structure and maximize productivity. By implementing proper pruning techniques, gardeners can ensure healthier plants, better yields, and a more enjoyable gardening experience. So, grab your pruners and get ready to give your okra the attention it deserves!
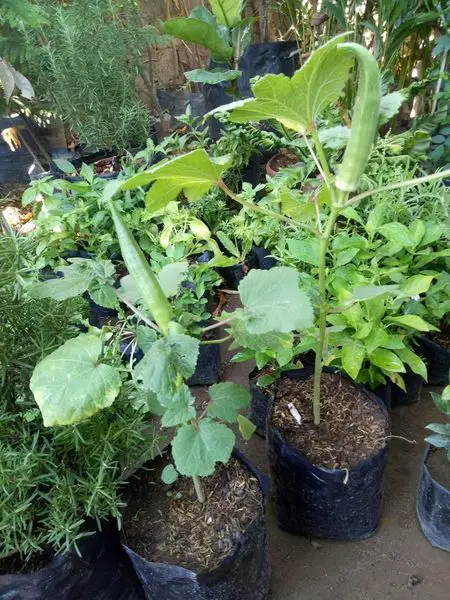
Supporting Okra Plants: Providing the Necessary Structural Support
Structural support is essential for okra plants as they can grow to impressive heights and can be easily damaged by strong winds or heavy rain. Without proper support, the plants may become weak, bent, or even break, resulting in a decrease in productivity. There are several methods that can be employed to provide the necessary structural support for your okra plants.
One commonly used method is staking. This involves inserting stakes into the ground around each okra plant and tying the stems to the stakes using soft, flexible plant ties. Stakes should be positioned at least 6 inches away from the base of the plant to avoid damaging the roots. Staking not only prevents the plants from falling over but also helps to keep the stems upright, allowing for better air circulation and reducing the risk of diseases.
Another method is the use of trellises or cages. Trellises are typically made of wood, metal, or plastic and consist of a series of horizontal bars. They can be placed in rows, allowing the okra plants to grow vertically along the trellis. Cages, on the other hand, are usually made of wire and encircle the plants, providing support from all sides. Both trellises and cages are effective in keeping the plants upright and can help to maximize the use of space in the garden.
By providing the necessary structural support to your okra plants, you are ensuring their overall health and productivity. Choose the method that works best for you and your garden, and enjoy a bountiful harvest of delicious okra pods.
Harvesting Okra: Identifying the Perfect Time to Pick Your Pods
To ensure optimal taste and texture, it is crucial to harvest okra at the right time when the pods are at their peak of maturity. Harvesting too early can result in small and underdeveloped pods, while waiting too long can lead to tough and fibrous okra. So, how do you identify the perfect time to pick your pods?
One method is to closely monitor the size of the pods. Okra pods typically reach their ideal harvest size around 3 to 4 inches in length. As they grow, you might notice a slight swelling or plumpness of the pods. Gently pressing your finger against the pod can help you determine if it feels firm and crisp, indicating that it is ready for harvest. Another reliable indicator is the color of the pods. Ripe okra pods will have a vibrant green color, while immature ones may appear pale or yellowish. Remember to harvest your okra frequently, every couple of days, to prevent over-maturity and to encourage continued production throughout the growing season.
In addition to visual cues, the timeline from flowering to pod development can give you an idea of when to expect your okra to be ready for harvest. After the okra plant blooms, it takes approximately 4 to 6 days for the pods to start forming. From there, it usually takes another 3 to 4 days for the pods to reach their optimal size. By keeping track of the flowering dates, you can estimate when it might be time to start checking for mature pods. It’s worth noting that the timing can vary depending on the specific variety of okra you are growing, so consulting the recommended days to maturity for your chosen variety can provide additional guidance.
Knowing the perfect time to harvest your okra ensures that you can enjoy the best flavor and texture from your homegrown crop. By observing the size, firmness, color, and the timeline of pod development, you can confidently pick your okra pods at their peak of maturity, enhancing your culinary experience and maximizing your gardening efforts.
Storing and Using Okra: Tips for Preserving and Enjoying the Harvest
Storing and using okra properly is essential for preserving its freshness and maximizing its flavor. After harvesting your okra, it is important to handle it with care to maintain its quality. Start by washing the pods gently under cool water, being careful not to bruise or damage them. Afterwards, pat them dry with a clean towel to remove any excess moisture.
One popular method of preserving okra is freezing. Before freezing, it is recommended to blanch the pods to help retain their color, texture, and nutrients. Simply bring a pot of water to a boil and add the okra for two to three minutes. Next, transfer the okra into an ice bath to cool rapidly and stop the cooking process. Once cooled, drain the okra and package it in freezer-safe containers or bags. Label them with the date and store them in the freezer for up to nine months.
To fully enjoy the harvest, consider incorporating okra into a variety of dishes. Okra is known for its versatility in the kitchen, as it can be used in soups, stews, stir-fries, and even pickled. Its unique texture and flavor can add depth to your culinary creations. Additionally, okra is a common ingredient in a popular dish known as gumbo, a flavorful stew consisting of meat, seafood, and vegetables. Experiment with different recipes and cooking methods to discover your favorite ways to savor this nutritious vegetable.
Common Okra Growing Problems: Troubleshooting and Solutions
Common Okra Growing Problems: Troubleshooting and Solutions
Problem 1: Poor Seed Germination
One of the common problems encountered by gardeners when growing okra is poor seed germination. This can be frustrating, especially after carefully selecting and planting the seeds. Several factors can contribute to this issue, including improper soil conditions, temperature fluctuations, and poor seed quality. To address this problem, it is essential to ensure that the soil is well-draining, loose, and fertile. Before planting, conduct a soil test to determine if any amendments, such as organic matter or nutrients, are required. Additionally, maintaining a consistent soil temperature between 75°F and 95°F can enhance germination rates. If low-quality seeds are suspected, it is advisable to purchase fresh seeds from reputable suppliers to maximize the chances of success.
Problem 2: Yellowing Leaves
Yellowing leaves are often a cause for concern among okra growers as they indicate a nutrient deficiency or pest infestation. Monitoring the plant’s nutrient levels is crucial to address this problem effectively. Okra plants require adequate amounts of nitrogen, phosphorus, and potassium for healthy growth. A balanced fertilizer with a ratio of 10-10-10 or similar can provide the necessary nutrients for optimal foliage development. Additionally, regularly checking for pests, such as aphids or spider mites, is essential. These pests can weaken the plants and contribute to leaf discoloration. If pest infestation is identified, using organic insecticidal soaps or biological controls can help mitigate the issue and restore the plant’s health.
Stay tuned for the next section in this article, where we will continue exploring common okra growing problems and providing effective troubleshooting strategies to ensure a successful harvest. By addressing these challenges head-on, we can cultivate healthy and productive okra plants in our gardens. Remember, a little knowledge and proactive action can go a long way in preventing and managing common okra growing problems.
Success Stories: Inspiring Tales of Growing Okra
Have you ever wondered what it takes to grow delicious and nutritious okra in your own garden? Well, let me tell you, it is definitely not an easy feat. However, with the right knowledge and a little bit of perseverance, you can achieve incredible success stories that will leave your friends and family in awe.
Take for instance, the story of John, a gardening enthusiast from Georgia. John diligently followed proper soil preparation techniques, ensuring his okra plants had the ideal growing environment. He enriched the soil with organic matter, balanced the pH levels, and provided adequate drainage. The result? Bountiful okra harvests year after year, enough to satisfy his family’s cravings and even share with the entire neighborhood.
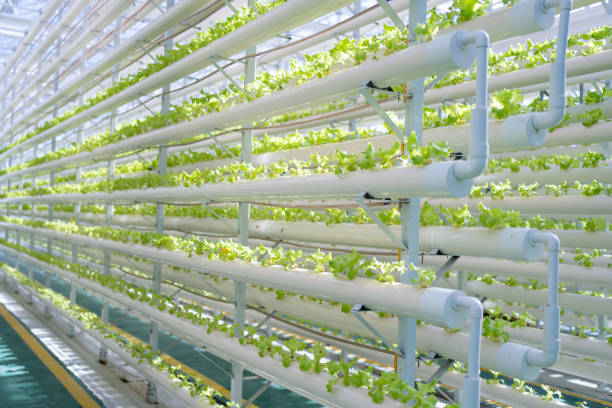
Or how about Emily, a hydroponics expert from California? She embraced a completely different approach to growing okra, utilizing a soil-less system that optimized water and nutrient delivery. With precise control over the growing conditions, she was able to achieve exceptional yields, proving that traditional soil cultivation methods are not the only path to success.
These inspiring tales of okra cultivation remind us that with dedication, knowledge, and a little experimentation, anyone can master the art of growing this versatile vegetable. So, whether you prefer soil-based gardening or are curious about hydroponics, there are endless possibilities waiting for you in the world of okra cultivation.
For more details check the vedio given below:
What is the ideal soil preparation for growing okra?
The ideal soil for growing okra is well-draining and rich in organic matter. It should have a pH level between 6.0 and 6.8. Adding compost or well-rotted manure can greatly improve the soil’s fertility and structure.
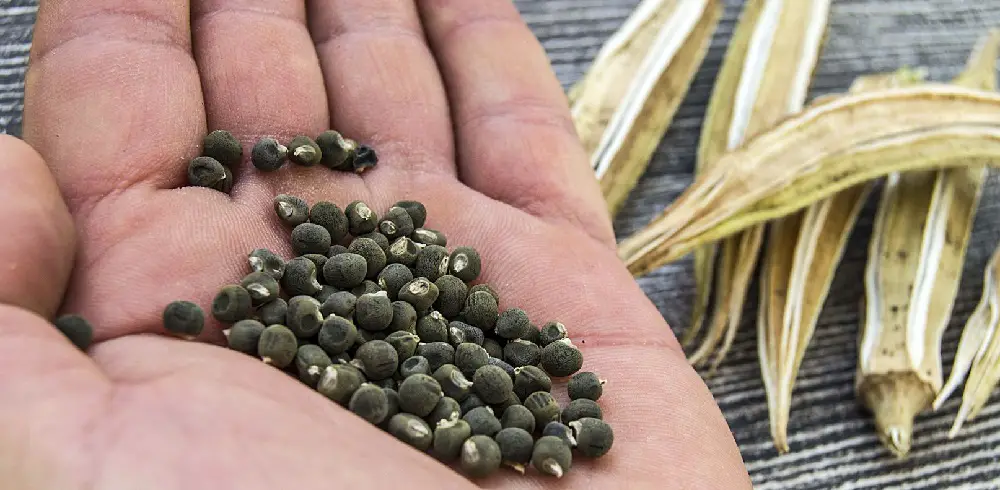
How do I choose the right okra variety for my garden?
When selecting okra seeds, consider factors such as your climate, available space, and personal preferences. Popular okra varieties include Clemson Spineless, Emerald, and Annie Oakley II. Research the characteristics and growth requirements of different varieties before making your choice.
What are the proper techniques and timing for planting okra seeds?
Okra seeds should be planted directly into the garden after the last frost date in your area. Plant the seeds about ¾ to 1 inch deep, with a spacing of 12 to 18 inches between each seed. Sow the seeds in rows or clusters, ensuring they receive adequate sunlight.
How much sunlight do okra plants require?
Okra plants thrive in full sunlight. They require at least 6 to 8 hours of direct sunlight each day. Ensure that your garden location provides ample sunlight for the okra plants to grow and produce well.
What are some essential tips for watering okra plants?
Okra plants require regular watering to maintain consistent moisture in the soil. Water deeply once a week, providing about 1 inch of water. Avoid overhead watering to prevent the development of fungal diseases. Mulching around the plants can help retain soil moisture.
What are the nutrient requirements and application methods for fertilizing okra?
Okra plants benefit from a balanced fertilizer with a ratio of nitrogen, phosphorus, and potassium (NPK) of 10-10-10 or 14-14-14. Apply fertilizer before planting and side-dress the plants with additional fertilizer once they reach about 6 inches in height. Follow the package instructions for proper application rates.
How can I effectively manage pests and diseases for my okra plants?
To manage pests, regularly inspect your okra plants for signs of damage or infestation. Use organic pest control methods such as handpicking insects or using insecticidal soap. Diseases can be prevented by providing good air circulation, avoiding overhead watering, and practicing crop rotation.
Should I prune my okra plants? What are the techniques for maintaining their health and productivity?
Okra plants generally do not require extensive pruning. However, you can remove the lower leaves of the plant to improve air circulation and reduce the risk of fungal diseases. Pruning can also help maintain a more compact and manageable plant size.
Do okra plants need structural support?
Okra plants typically do not require structural support unless you are growing a particularly tall or heavy variety. However, if you notice the plants leaning or bending under the weight of the pods, you can provide stakes or trellises for support.
How do I identify the perfect time to harvest okra pods?
Harvest okra pods when they are about 2 to 4 inches long. They should still be tender and easily snapped off the stem. Avoid leaving the pods on the plant for too long, as they can become tough and fibrous.
What are some tips for storing and using harvested okra?
Harvested okra can be stored in the refrigerator in a perforated plastic bag for up to a week. To preserve okra, it can be blanched and frozen. Okra is a versatile vegetable that can be used in various dishes such as gumbo, stir-fries, or pickled for a later use.
What are some common problems when growing okra and their solutions?
Common problems when growing okra include yellowing leaves (indicating nutrient deficiencies or overwatering), powdery mildew (use fungicides and improve air circulation), and pests like aphids or caterpillars (use organic pest control methods). Proper care, such as regular watering and monitoring for pests and diseases, can help prevent and address these issues.
Can you provide any inspiring success stories of growing okra?
While this article does not feature specific success stories, many gardeners have successfully grown okra and enjoyed a bountiful harvest. With proper care and attention to the plant’s needs, you too can experience the joy of growing your own fresh okra.