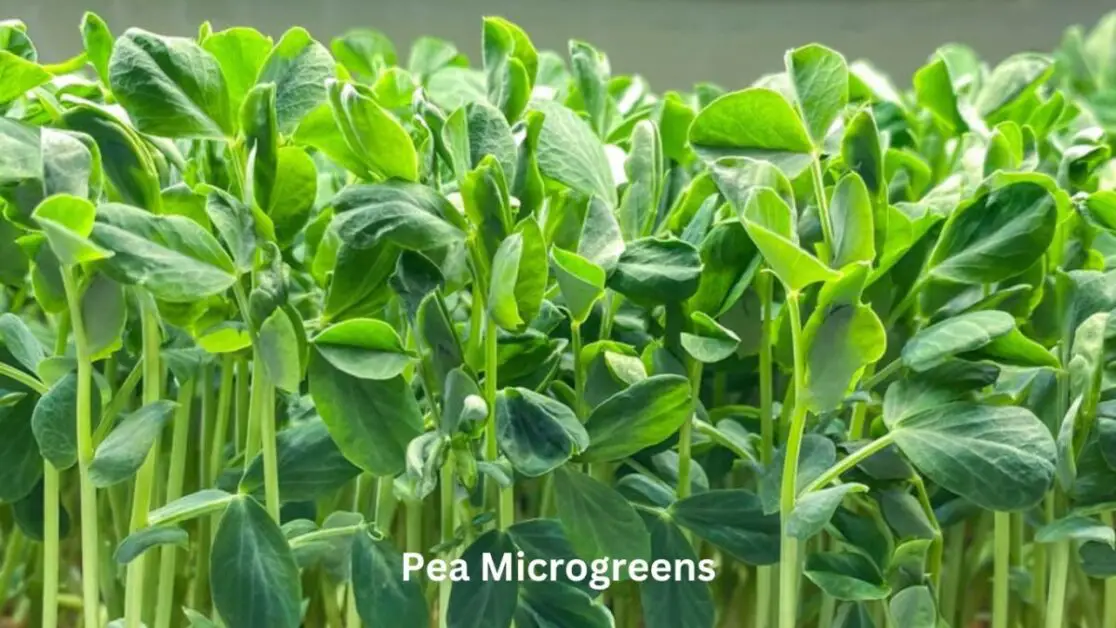
Pea Microgreens: Quick and Simple Growing Techniques
Table of Contents
How to Choose the Right Seeds for Pea Microgreens
When selecting seeds for growing pea microgreens, it is essential to choose high-quality seeds that are specifically suited for microgreen production. Look for pea seeds that are untreated, non-GMO, and preferably organic to ensure optimal growth and flavor. The variety of pea seed you choose will also impact the taste and texture of your microgreens, with sugar snap peas, snow peas, and English peas being popular choices for their sweetness and tender shoots.
Additionally, consider factors such as seed purity, germination rate, and whether the seeds are labeled specifically for microgreen cultivation. Seeds labeled as “microgreen seeds” or “certified for sprouting” are typically good choices as they have been tested for quality and safety. Remember that using high-quality seeds is the first step towards successfully growing flavorful and nutritious pea microgreens at home.
The Best Soil for Growing Microgreens
When it comes to growing microgreens, the choice of soil plays a crucial role in the success of your crop. microgreens thrive best in a well-draining and nutrient-rich soil that provides the necessary support for their growth. A suitable soil mix for microgreens should be lightweight, airy, and rich in organic matter to promote healthy root development and vigorous growth.
One popular soil mix for growing microgreens consists of a combination of peat moss, perlite, and vermiculite. This blend ensures proper aeration and moisture retention, allowing the pea seeds to germinate and establish well. Additionally, adding a high-quality organic compost to the soil mix can further enhance the nutrient content and boost the overall health of your microgreens.
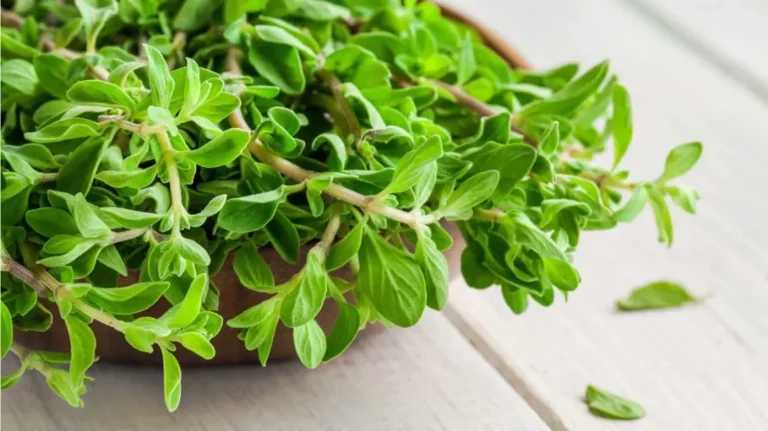
The Ideal Temperature and Lighting Conditions for Pea Microgreens
To ensure successful growth and development of pea microgreens, it is crucial to provide the ideal temperature and lighting conditions. Pea microgreens thrive best in temperatures between 60-75°F (15-24°C) during the day and slightly cooler temperatures at night. Consistent warmth is essential to promote germination and vigorous growth, while fluctuations in temperature can stress the plants and hinder their progress. Utilizing a heating mat could be beneficial in maintaining the desired temperature range for optimal growth.
In terms of lighting, pea microgreens require ample exposure to light for proper photosynthesis and healthy development. Providing 12-16 hours of bright, indirect sunlight or artificial light per day is recommended. LED grow lights are a popular option for indoor cultivation, as they are energy-efficient and emit the full spectrum of light necessary for robust pea microgreen growth. Positioning the lights close to the plants, approximately 6-12 inches away, ensures they receive adequate light intensity for photosynthesis and overall vitality.
Watering Tips for Healthy Microgreens
To ensure healthy growth and development of your microgreens, proper watering techniques are essential. Overwatering can lead to issues like root rot, while underwatering can stunt growth and result in wilting. It’s crucial to strike the right balance by monitoring the moisture levels of the soil consistently.
One effective method is to water your microgreens from the bottom up, known as the tray method. This involves placing the trays containing the microgreens in a shallow container filled with water. Allow the soil to soak up the water through the drainage holes at the bottom of the tray until the top surface appears moist. This technique encourages healthy root development and prevents water from directly hitting the delicate leaves, reducing the risk of fungal diseases. Remember to empty any excess water from the container after watering to prevent waterlogging.
The Importance of Proper Ventilation for Microgreens
Proper ventilation is crucial for the successful growth of microgreens. Adequate airflow helps prevent the development of mold and mildew, which can quickly spread and damage your crop. Without proper ventilation, excess moisture can accumulate around the plants, leading to fungal issues that may inhibit growth and compromise the health of your microgreens.
In addition to preventing diseases, good airflow also aids in the photosynthesis process of the microgreens. Carbon dioxide is necessary for plants to carry out photosynthesis, and efficient ventilation ensures a fresh supply of this crucial gas around the plants. By promoting healthy growth through optimal photosynthesis, proper ventilation not only safeguards your microgreens from potential harm but also helps them thrive and reach their full nutritional potential.
Common Pests and Diseases that Affect Microgreens
Pea microgreens, although a delightful addition to any dish, are susceptible to a range of pests and diseases that can hinder their growth and development. One common pest that could target microgreens is aphids. These tiny insects feed on the sap of the plants, causing damage and potentially transmitting viruses. To combat aphids, introduce natural predators like ladybugs or use insecticidal soap as a safe and effective solution.
Another issue that can affect microgreens is damping off, a fungal disease that thrives in moist conditions. Damping off can cause the seedlings to wilt and eventually die. To prevent this disease, ensure proper air circulation around the plants, avoid overwatering, and use sterile planting equipment to minimize the risk of contamination. Monitoring the moisture levels in the growing environment and practicing good hygiene practices can go a long way in protecting your pea microgreens from damping off.
Harvesting and Storing Pea Microgreens

To ensure the freshest and most nutritious pea microgreens, harvesting at the right time is crucial. Typically, pea microgreens are ready for harvest when they reach a height of 2-3 inches, which usually takes around 10-14 days after planting. Using clean scissors or a sharp knife, snip the pea microgreens just above the soil level. Avoid pulling them out as it can disturb the roots of neighboring plants.
Storing pea microgreens properly can extend their shelf life and preserve their flavor and texture. After harvesting, gently wash the microgreens in cold water and pat them dry using a paper towel. Place them in an airtight container or a plastic bag with a damp paper towel to maintain moisture. Store them in the refrigerator and consume within a few days for the best quality and taste.
Creative Ways to Use Pea Microgreens in Cooking
Pea microgreens are not only nutritious but also versatile in the kitchen, adding a fresh and vibrant touch to various dishes. One creative way to incorporate pea microgreens into your cooking is by using them as a flavorful garnish on soups, salads, or sandwiches. The crunch and mild sweetness of pea microgreens can elevate the visual appeal and taste of your favorite dishes effortlessly.
Another innovative way to use pea microgreens in cooking is by blending them into smoothies or juices. Adding a handful of these nutrient-packed greens can enhance the overall nutritional value of your beverages while imparting a subtle pea flavor. Whether you prefer a green smoothie or a refreshing juice, pea microgreens can be a unique and healthy addition to your daily routine. Experiment with different combinations to find your perfect mix of flavors and nutrients.
Benefits of Growing Microgreens at Home
Growing microgreens at home offers a multitude of benefits, both for your health and for the environment. These tiny greens are packed with nutrients such as vitamins A, C, and K, as well as essential minerals like iron and potassium. Incorporating microgreens into your diet can help boost your immune system, improve digestion, and support overall well-being. Additionally, by cultivating these greens in the comfort of your own home, you have access to fresh, organic produce at your fingertips, reducing the need for store-bought greens that may have been treated with pesticides or herbicides.
Not only are microgreens beneficial for your health, but they also have a positive impact on the environment. Growing these greens at home allows you to reduce your carbon footprint by cutting down on transportation emissions associated with store-bought produce. Furthermore, by using sustainable growing practices such as composting and water conservation, you can further minimize your environmental impact. Embracing the practice of growing microgreens at home not only benefits you and your family but also contributes to a healthier planet for future generations.
How Often to Fertilize Microgreens
When it comes to fertilizing microgreens, it is essential to strike a balance to ensure optimal growth and nutrition without causing nutrient imbalances. Generally, microgreens should be fertilized once they have developed their first true leaves, usually around 7-10 days after sowing. At this stage, you can start using a diluted, balanced, water-soluble fertilizer to provide the necessary nutrients for healthy growth. Remember to follow the manufacturer’s instructions regarding the dilution ratio to prevent over-fertilization, which can harm the delicate microgreens.
As your microgreens continue to grow, you can fertilize them every 7-10 days to support their development. However, always monitor the plants closely for any signs of nutrient deficiencies or excesses, such as yellowing leaves or stunted growth. Adjust the fertilization frequency or concentration accordingly based on the specific needs of your microgreens. Consistent and appropriate fertilization is crucial for ensuring that your microgreens are vibrant, flavorful, and packed with essential nutrients.
Tips for Troubleshooting Common Issues with Microgreens
When facing issues with your microgreens, it’s essential to identify the problem promptly to implement the right solutions for their growth. Yellowing or wilting leaves may indicate overwatering, causing root rot or mold development. Adjusting the watering frequency can help restore the health of your microgreens. Additionally, if you notice stunted growth or yellowing in the presence of sufficient sunlight, consider nutrient deficiency as a potential cause. Providing a balanced fertilizer or amending the soil can rectify these issues and promote healthy growth.
Furthermore, if your microgreens are showing signs of discoloration or unusual spots on leaves, it could be a symptom of a fungal or bacterial infection. Isolating the affected plants and improving air circulation can prevent the spread of diseases. Inconsistent temperature or humidity levels may also lead to poor growth or pest infestation. Maintaining stable environmental conditions and implementing pest control measures can help safeguard your microgreens from further damage.
The Difference Between Pea Microgreens and Pea Sprouts
Pea microgreens and pea sprouts are both popular choices for home cultivation due to their nutritional benefits and ease of growth. However, these two terms refer to distinct stages in the plant’s development. Pea microgreens are the young seedlings of the pea plant that have developed their first set of true leaves after germination. On the other hand, pea sprouts are the newly germinated pea seeds that have just started to grow roots and shoots.
While both pea microgreens and pea sprouts offer a burst of fresh pea flavor and nutrients, there are notable differences in their appearance and taste. Pea microgreens are characterized by their delicate stems, vibrant green leaves, and slightly sweet flavor. In contrast, pea sprouts are more tender, with a milder taste and a softer texture. Understanding these variances can help gardening enthusiasts choose the right option based on their preferences and culinary needs.
How to Reuse Soil for Growing Pea Microgreens
When it comes to reusing soil for growing pea microgreens, it’s important to ensure that the soil is properly refreshed and enriched to provide the necessary nutrients for healthy growth. After harvesting your pea microgreens, you can begin the process of reusing the soil by first removing the remaining plant roots and any debris. This helps to prevent the build-up of pathogens and pests that could affect the next batch of microgreens.
Once the old roots and debris are cleared, you can rejuvenate the soil by mixing in fresh compost or organic fertilizer. This replenishes the soil with essential nutrients that may have been depleted during the previous growth cycle. Additionally, aerating the soil by gently turning it can help improve its texture and promote better drainage, which is crucial for the overall health of your pea microgreens.
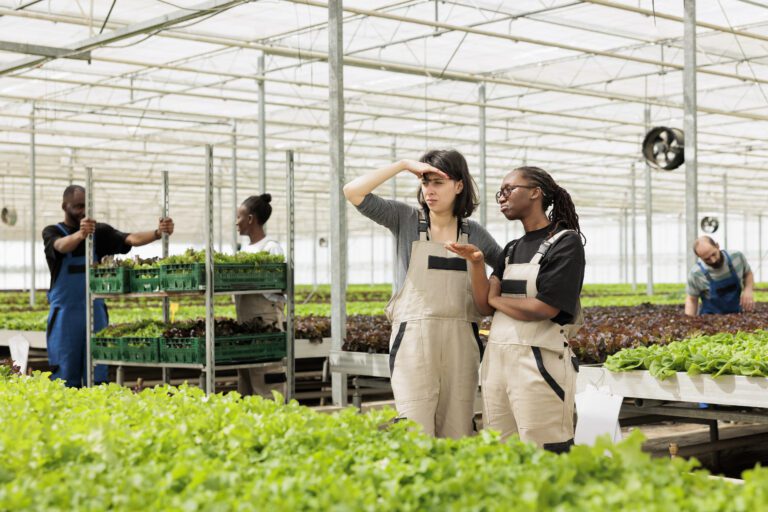
Experimenting with Different Growing Methods for Pea Microgreens

When it comes to growing pea microgreens, experimenting with different methods can be an exciting adventure for gardening enthusiasts. One innovative approach you may consider is using hydroponics to cultivate your pea microgreens. Hydroponic systems provide a soil-less environment that can control nutrient levels more precisely, leading to potentially faster growth and higher yields. Experimenting with hydroponics for your pea microgreens could open up new possibilities for maximizing their nutritional content and flavor profile.
Another method to explore is vertical farming for pea microgreens. Vertical farming utilizes stacked layers to grow plants upward, making efficient use of space and light. This method can be particularly advantageous for indoor gardens or areas with limited space, allowing you to cultivate a larger quantity of pea microgreens in a smaller footprint. By experimenting with vertical farming techniques, you can not only increase your pea microgreens’ production but also enhance the visual appeal of your growing space.
here’s a simple table outlining quick and simple growing techniques for pea microgreens:
| Technique | Description |
|---|---|
| Growing Medium | Use a shallow tray or container filled with soilless growing medium (e.g., coco coir). |
| Seed Selection | Select high-quality pea seeds specifically labeled for microgreen production. |
| Soaking | Soak pea seeds in water for 8-12 hours to encourage germination. |
| Sowing | Spread soaked seeds evenly on the growing medium surface, ensuring good coverage. |
| Covering | Lightly cover seeds with a thin layer of soil or another growing medium. |
| Watering | Mist the seeds with water to keep the growing medium moist, but not waterlogged. |
| Lighting | Place the tray in a location with indirect sunlight or provide artificial grow lights. |
| Temperature | Maintain temperatures between 60-70°F (15-21°C) for optimal growth. |
| Germination Time | Pea microgreens typically germinate within 2-3 days. |
| Harvesting | Harvest when the microgreens reach 2-3 inches in height, usually within 10-14 days. |
| Harvesting Technique | Cut the microgreens just above the soil level using clean scissors. |
| Storage | Store harvested microgreens in a sealed container in the refrigerator for up to a week. |
| Uses | Add pea microgreens to salads, sandwiches, wraps, and as garnish for various dishes. |
These techniques should provide a straightforward approach to growing pea microgreens at home. Adjustments may be needed based on specific environmental conditions and personal preferences.
Sharing Your Pea Microgreens with Friends and Family
To share the joy of growing pea microgreens with your friends and family, consider creating personalized gift baskets filled with freshly harvested greens. You can include a variety of pea microgreens, such as snap peas, snow peas, or sugar snap peas, to introduce a range of flavors and textures. Adding a guide on how to incorporate these nutritious greens into daily meals can spark creativity and encourage loved ones to explore the culinary possibilities of pea microgreens. Additionally, hosting a tasting party where guests can sample different pea microgreen varieties and learn about their health benefits can be a fun and educational way to share your passion for growing these nutrient-packed greens.
Another way to involve friends and family in your pea microgreens journey is to organize a workshop or demo showcasing how to grow these vibrant greens at home. Sharing your knowledge on seed selection, optimal growing conditions, and harvesting techniques can inspire others to start their own microgreens garden. Encouraging loved ones to participate in the planting and care of pea microgreens can foster a sense of community and create shared experiences centered around sustainable and healthy living practices. By fostering a sense of togetherness through gardening, you can strengthen bonds and create lasting memories with those closest to you.
Can I share my pea microgreens with friends and family?
Yes, you can definitely share your pea microgreens with friends and family! They make a wonderful and nutritious gift that shows you care about their health and well-being.
How should I package my pea microgreens when giving them as a gift?
You can package your pea microgreens in a small container or a clear plastic clamshell container to showcase their vibrant green color. Add a ribbon or a personalized label for a special touch.
Can I include a recipe card with my pea microgreens gift?
Absolutely! Including a recipe card with ideas on how to use pea microgreens in cooking can inspire your friends and family to get creative in the kitchen.
How long can pea microgreens be stored before giving them as a gift?
It’s best to harvest your pea microgreens right before giving them as a gift to ensure their freshness and quality. However, if you need to store them, place them in a sealed container in the refrigerator for up to 2-3 days.
What are some ways to encourage my friends and family to start growing their own pea microgreens?
You can share your growing tips and experiences with them, gift them a small starter kit with everything they need to get started, or invite them over for a mini pea microgreens growing workshop. Sharing your enthusiasm for growing pea microgreens can be contagious!