Cultivating Hollyhock: Beautiful Allies for Pollinators
Table of Contents
Benefits of Hollyhocks for Pollinators
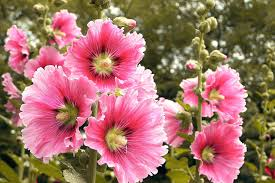
Hollyhocks are not only a stunning addition to any garden with their vibrant blooms and towering height, but they also play a vital role in supporting pollinators. With their nectar-rich flowers, hollyhocks attract bees, butterflies, and hummingbirds, providing them with a valuable food source. By planting hollyhocks in your garden, you can help support the local pollinator population and contribute to the health and diversity of your ecosystem.
Pollinators are essential for the reproduction of many plant species, including food crops, and by cultivating hollyhocks, you can create an inviting habitat for these important creatures. Bees, in particular, are known to be drawn to the bright colors and sweet scent of hollyhock flowers, making them frequent visitors to your garden. By promoting pollinator-friendly plants like hollyhocks, you can play a part in conserving these crucial species and fostering a more sustainable and biodiverse environment.
Choosing the Right Location for Hollyhocks
When selecting the ideal location for your hollyhocks, it is crucial to consider their sunlight requirements. Hollyhocks thrive in full sun, which typically means they need at least six to eight hours of direct sunlight each day. Placing them in a spot that receives ample sunlight will promote healthy growth and vibrant blooms.
In addition to sunlight, it is important to choose a location with well-draining soil for your hollyhocks. These plants do not tolerate soggy or waterlogged soil, as it can lead to root rot and other complications. Opt for a site with loamy or sandy soil that allows water to percolate through easily, ensuring your hollyhocks receive the right balance of moisture for optimal growth.
Preparing the Soil for Planting Hollyhocks
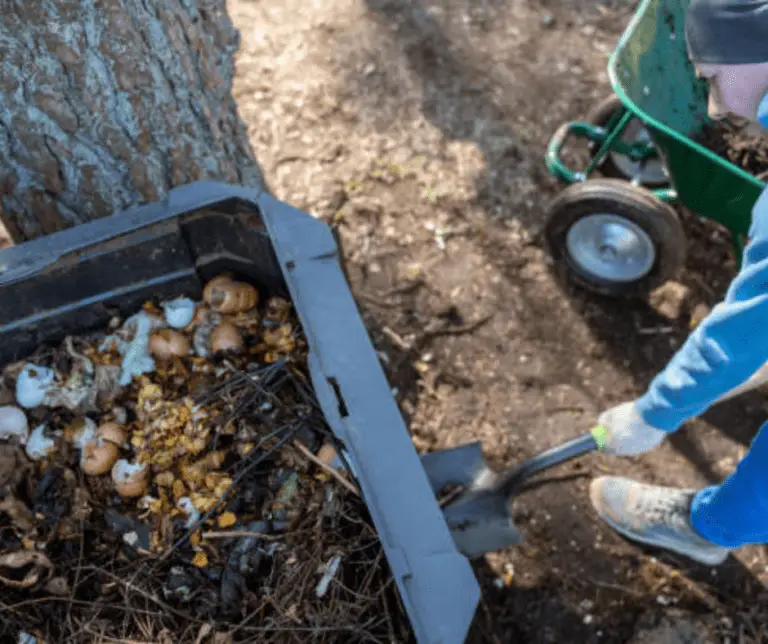
Before planting hollyhocks, it is crucial to prepare the soil properly to ensure optimal growth and blooming. Hollyhocks thrive in well-draining soil with a slightly acidic to neutral pH level. To prepare the soil, start by loosening it to a depth of at least 12 inches using a garden fork or tiller. This will help promote healthy root development and enable the hollyhocks to access nutrients easily.
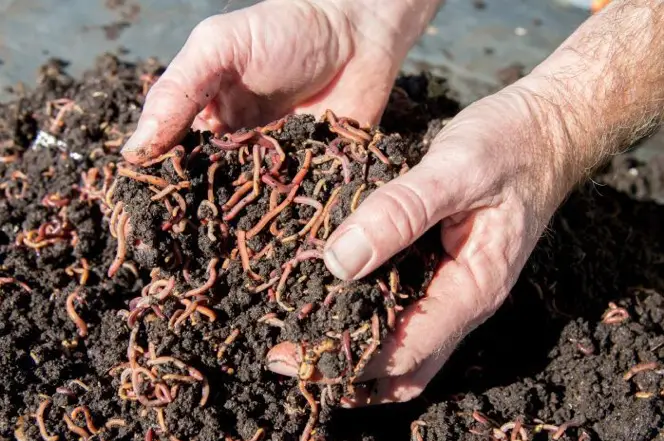
Next, amend the soil with organic matter such as compost or aged manure to improve its fertility and texture. Incorporating organic matter not only provides essential nutrients for the hollyhocks but also enhances the soil’s ability to retain moisture, which is crucial for their growth. Additionally, adding a balanced fertilizer with a higher phosphorus content can further boost flower production and overall plant health. By taking the time to properly prepare the soil, you can set the stage for vibrant and thriving hollyhocks in your garden.
Selecting the Best Varieties of Hollyhocks
When selecting the best varieties of hollyhocks for your garden, it’s essential to consider factors such as your geographical location, desired bloom colors, and the available space in your garden. Some popular varieties of hollyhocks include the traditional single-flowered Alcea rosea, the double-flowered ‘Chater’s Double’ hollyhock known for its full blooms, and the dwarf ‘Queeny’ hollyhock ideal for smaller gardens or containers.
Furthermore, if you aim to attract specific pollinators or want a particular height for your hollyhocks, varieties like the ‘Halo’ series, which bloom in a range of colors and heights, or the ‘Blacknight’ hollyhock, known for its dark, almost black flowers, might be the perfect choice. By selecting hollyhock varieties that suit your preferences and garden conditions, you can create a stunning display while also providing a valuable food source for pollinators.
Planting Hollyhocks from Seeds
When planting hollyhocks from seeds, it’s essential to choose a sunny location with well-draining soil. Hollyhocks thrive in full sun, so find a spot in your garden that receives at least six to eight hours of sunlight daily. Ensure the soil is rich and loose to allow for proper root development and water penetration.
To plant hollyhock seeds, prepare the soil by loosening it and removing any weeds. Scatter the seeds over the soil surface and lightly press them down to ensure good seed-to-soil contact. Keep the soil consistently moist but not waterlogged to aid in germination. Once the seeds have sprouted, thin the seedlings to allow enough space for growth, typically spacing them 18 to 24 inches apart. With proper care and attention, your hollyhock seeds will soon develop into tall, majestic plants that will add beauty to your garden.
Transplanting Hollyhocks from Seedlings
Transplanting hollyhocks from seedlings is a crucial step in ensuring the successful growth and development of these beautiful flowering plants. When the seedlings have grown to a height of about 3-4 inches and have at least two sets of true leaves, they are ready to be transplanted into their final growing location. It’s best to transplant them in the late spring or early summer when the soil is warm and the risk of frost has passed.
Before transplanting the hollyhock seedlings, prepare the new planting site by ensuring the soil is well-drained and rich in organic matter. Dig a hole that is slightly larger than the root ball of the seedling and gently place the seedling in the hole, ensuring that the soil level is the same as it was in the original container. Gently pat down the soil around the seedling to secure it in place and water thoroughly to help the plant establish its roots in its new environment. Remember to space the transplanted seedlings at least 18-24 inches apart to allow for proper air circulation and growth.

Caring for Hollyhocks: Watering and Fertilizing
Hollyhocks are relatively low-maintenance plants when it comes to watering, but they do require attention to thrive. These tall beauties prefer regular watering, especially during dry spells, to ensure optimal growth and blooming. Aim to keep the soil consistently moist but not waterlogged to prevent issues like root rot. Using a soaker hose or drip irrigation system can help deliver water directly to the base of the plant, minimizing water waste and reducing the risk of fungal diseases.
When it comes to fertilizing hollyhocks, a balanced, slow-release fertilizer applied in early spring can provide the necessary nutrients for healthy growth and abundant blooms. Organic options like compost or well-rotted manure can also be beneficial for hollyhocks, enriching the soil and promoting strong root development. Be cautious not to over-fertilize, as this can lead to excessive foliage growth at the expense of flowers. Monitor the plant’s growth and adjust your fertilizing schedule as needed to support optimal performance throughout the growing season.
Pruning and Deadheading Hollyhocks
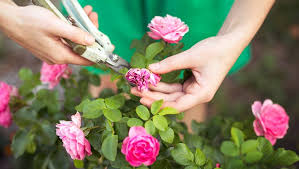
Pruning and deadheading hollyhocks are crucial tasks to maintain the health and beauty of these stunning plants. By removing spent blooms and pruning back any diseased or damaged foliage, you can encourage new growth and promote a longer blooming period. Deadheading, in particular, redirects the plant’s energy from seed production towards producing more flowers, resulting in a more abundant and vibrant display in your garden.
When deadheading hollyhocks, it is important to use clean and sharp pruners to make clean cuts just above a set of healthy leaves or an outward-facing bud. This helps the plant heal quickly and minimizes the risk of disease. Regular deadheading throughout the blooming season not only keeps your hollyhocks looking tidy but also prevents self-seeding, allowing you to have more control over where the plants grow in your garden. Proper pruning techniques can also help improve air circulation around the plants, reducing the risk of fungal diseases and promoting overall plant health.
Dealing with Common Pests and Diseases in Hollyhocks
To keep your hollyhocks healthy and thriving, it’s essential to be vigilant against potential pests and diseases that can harm these beautiful flowering plants. One common issue that hollyhocks face is powdery mildew, a fungal disease that appears as a white powdery substance on the leaves. To combat powdery mildew, ensure proper air circulation around the plants by spacing them appropriately and avoiding overhead watering. Additionally, you can apply fungicides labeled for powdery mildew control, following the instructions carefully to protect your hollyhocks effectively.
Aphids are another common pest that can plague hollyhocks, sucking sap from the plants and causing deformities and stunted growth. To deter aphids, introduce natural predators like ladybugs or lacewings into your garden, or use a solution of water and insecticidal soap to control their populations. Regularly inspect the underside of leaves for aphid colonies and take prompt action to prevent an infestation that can weaken your hollyhocks. By staying proactive and implementing these preventive measures, you can safeguard your hollyhocks from pests and diseases, allowing them to flourish in your garden ecosystem.
Supporting Hollyhocks: Staking and Tying
When it comes to supporting hollyhocks, staking and tying are essential practices to ensure these tall, elegant flowers remain upright and beautiful throughout the growing season. Hollyhocks, known for their stunning spires of blooms, can become top-heavy and prone to bending or breaking under the weight of their flowers. By gently staking the main stem of the hollyhock and using soft ties to secure it to the stake, you can provide the necessary support for the plant to reach its full potential without any damage.
Staking and tying hollyhocks should be done early in the growing season, ideally when the plants are still young and establishing their root systems. Choose stakes that are sturdy and tall enough to accommodate the height of mature hollyhocks, ensuring they are placed close to the main stem without causing damage to the roots. Tie the hollyhock stem to the stake using soft garden twine or strips of fabric, making sure not to tie them too tightly to allow for natural movement and growth. Regularly check the ties throughout the season to adjust them as needed and prevent any constriction as the hollyhocks continue to grow and bloom.
Harvesting and Saving Hollyhock Seeds
Once your hollyhocks have bloomed and started to fade, it’s time to think about harvesting and saving their seeds for future planting. To collect hollyhock seeds, wait until the flower has dried out completely on the plant. Gently pluck the seed pods from the stem and place them in a paper bag. Allow the seed pods to continue drying in the bag for a few weeks until they split open easily.
When the seed pods are fully dry, carefully extract the tiny hollyhock seeds and store them in a cool, dark, and dry place. Properly saving hollyhock seeds ensures that you can propagate these beautiful flowers in your garden year after year. Remember to label the seeds with the hollyhock variety and the date of collection for easy identification come planting season.
Propagating Hollyhocks through Division
To propagate hollyhocks through division, you will need to carefully dig up an established plant in early spring or fall, ensuring you have a healthy clump of roots attached. Use a sharp knife or garden spade to divide the root ball into sections, making sure each division has some roots and shoots. Replant the divisions in well-draining soil, spacing them about 2 feet apart to allow for future growth and airflow. Water the newly divided hollyhocks thoroughly to help them establish in their new locations.
Division is a reliable method of propagating hollyhocks, as it allows you to create new plants with the same characteristics as the parent plant. By dividing mature hollyhocks every few years, you can rejuvenate older plants, promote better flowering, and expand your hollyhock collection. Remember to monitor the divided plants closely for the first few weeks, providing adequate water and light to support their growth and development.
Companion Planting with Hollyhocks
Hollyhocks make excellent companions in the garden, not only for their beauty but also for their beneficial effects on neighboring plants. These tall, striking flowers attract pollinators such as bees and butterflies, enhancing the overall biodiversity of your garden. By planting hollyhocks alongside other flowers or vegetables, you can create a more diverse and thriving ecosystem.
When selecting companion plants for hollyhocks, consider species that have similar sunlight and soil requirements. Marigolds, lavender, and echinacea are excellent choices as they complement the growth habits and preferences of hollyhocks. Additionally, planting herbs like basil and dill near hollyhocks can help deter pests and attract beneficial insects, creating a harmonious and balanced garden environment.
Attracting Pollinators to Your Garden with Hollyhocks
Hollyhocks are a beautiful addition to any garden, but they also play a crucial role in attracting pollinators. Bees, butterflies, hummingbirds, and other beneficial insects are drawn to the vibrant colors and abundant nectar of hollyhock flowers. By planting hollyhocks in your garden, you can create a welcoming environment for these essential pollinators and help support the overall health of your garden ecosystem.
Incorporating hollyhocks into your garden design not only adds visual interest but also promotes biodiversity and pollination. These tall, striking flowers provide a food source and habitat for a wide range of pollinators, which in turn helps increase fruit and vegetable yields in your garden. By strategically placing hollyhocks near other plants that require pollination, you can enhance the overall productivity and abundance of your garden while enjoying the stunning display of colors that these versatile flowers offer.
Creating a Stunning Hollyhock Display in Your Garden
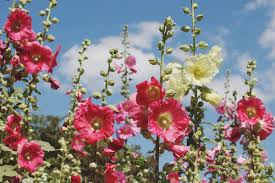
Hollyhocks are known for their tall, majestic blooms that can add a touch of old-world charm to any garden. To create a stunning display with these beautiful flowers, consider planting them in groups rather than scattering them throughout your garden. This will create a more impactful visual effect, especially when they bloom in vibrant hues of pink, red, yellow, or white.
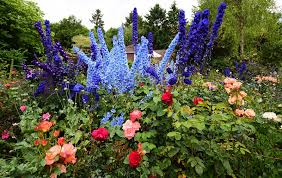
Additionally, mixing different hollyhock varieties can create a dynamic and visually interesting garden display. You can play with different heights, colors, and bloom shapes to enhance the overall aesthetic appeal of your garden. Whether you prefer a uniform color scheme or a more eclectic mix, hollyhocks offer versatility in creating a striking garden showcase.
To Know More About Cultivating Hollyhock: Beautiful Allies for Pollinators, Watch This Video!
Can I grow hollyhocks in containers?
Yes, hollyhocks can be grown in large containers as long as they have enough space for their deep roots to grow.
Are hollyhocks deer-resistant?
While hollyhocks are generally not a deer’s first choice, they may still munch on them if food is scarce. Consider using deer repellents or fencing to protect your hollyhock display.
How long do hollyhocks bloom for?
Hollyhocks typically bloom for several weeks to a month, depending on the variety and growing conditions. Deadheading spent blooms can encourage more flowers to come.
Can I use hollyhocks for cut flowers?
Yes, hollyhocks make beautiful cut flowers for indoor arrangements. Just be sure to cut them in the early morning when they are most hydrated.
Are hollyhocks toxic to pets?
While hollyhocks are not generally considered highly toxic, it’s best to keep pets away from consuming them to avoid any potential digestive issues.